

Getting started#
1. Install the app#
Install FileCap from the App Store, or open it from your company’s app catalogue if your organization distributes it through device management.
2. Connect the app to your FileCap server#
The app needs three things: the address of your FileCap server, the portal’s API key, and your email address. Administrators find the API key in the FileCap admin panel under Configuration > Add-ins and apps (see Add-ins and apps); it is the same key the Outlook add-ins use. There are three ways to provide the settings.
Option A: configuration link#
Your administrator can send you an email with a FileCap configuration link. Open the email on your iPhone and tap the link. The app opens, applies the settings, checks the connection with the server and shows the result:
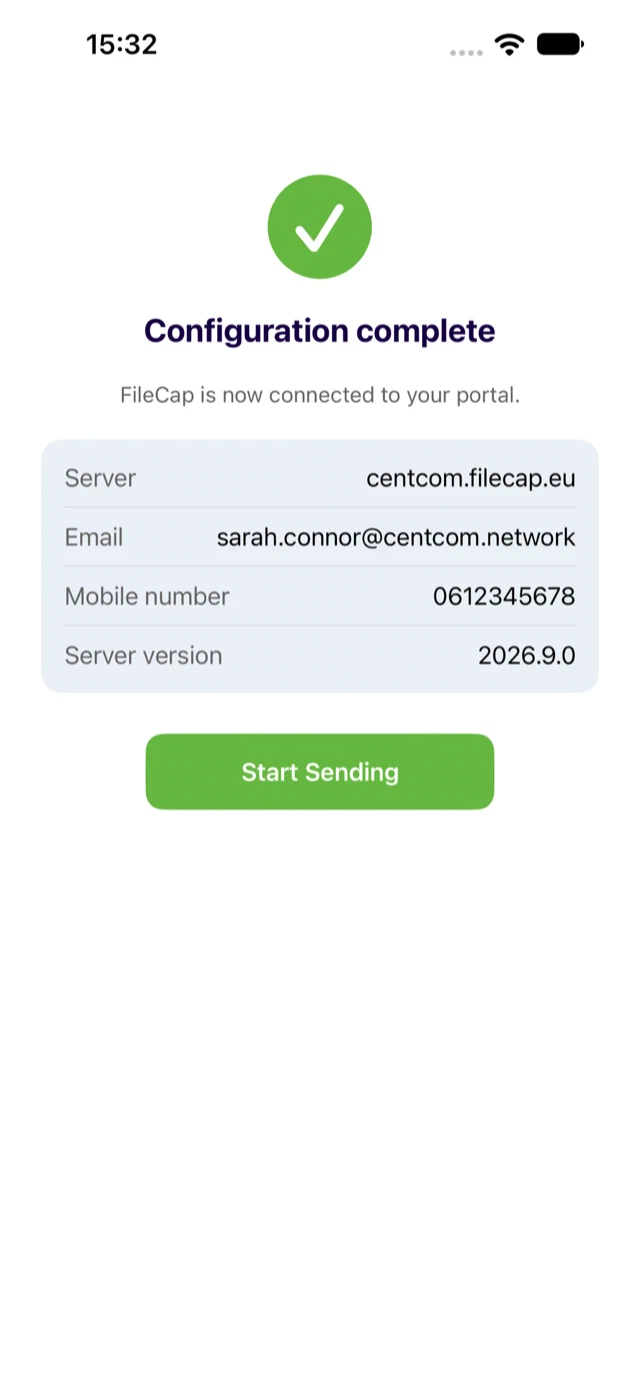
Tap Start Sending and you are ready. If the check fails, the app shows the reason and restores your previous settings.
Option B: by hand#
- Open the app. It starts on the Settings tab when it is not configured yet.
- Enter the Host Name of your FileCap server, for example
company.filecap.eu. - Enter the API Key you received from your administrator.
- Enter Your Email, the address you send from. It must be the address registered on the FileCap server.
- Optionally enter Your Mobile Number, or tap Choose from Contacts to fill your email address and number from your own contact card.
- Tap Verify Connection. A green Connected line confirms the settings; the app then shows the server’s policy (allowed verification methods, download limits).
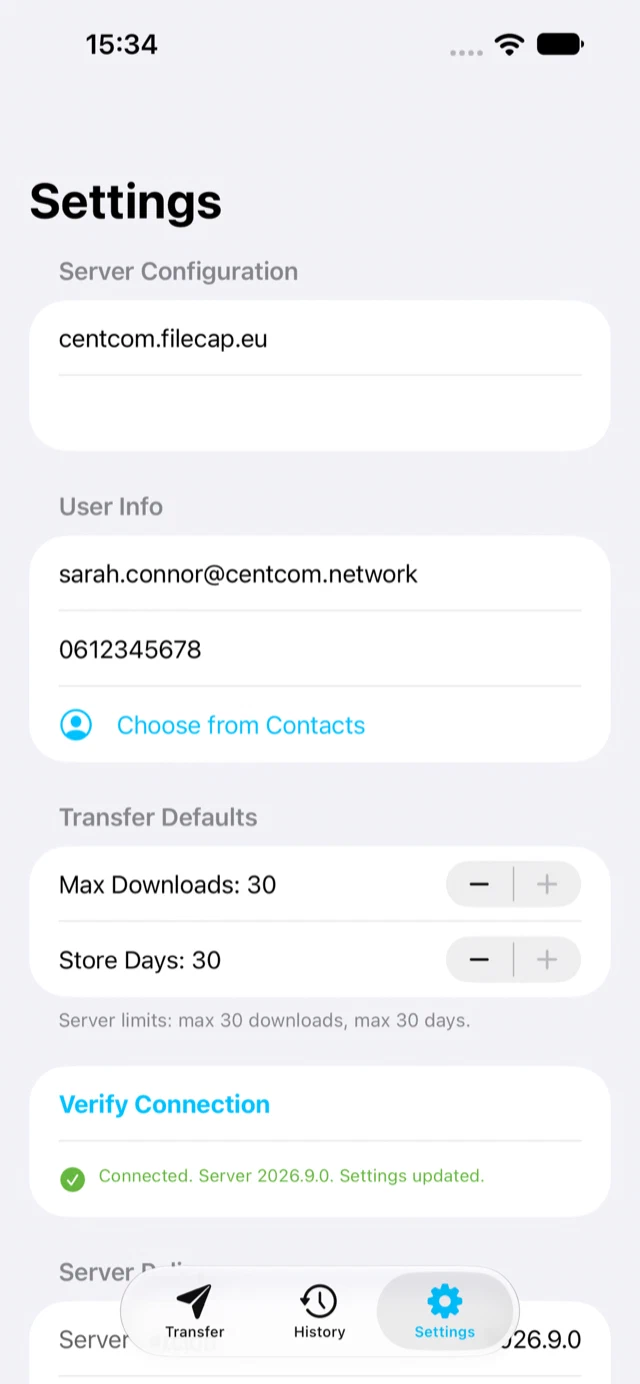
The app checks the connection again every time it starts, so changes in the server policy are picked up automatically.
Option C: managed by your organization (MDM)#
On company-managed devices the settings can arrive automatically. The app then shows Configuration complete by itself, and the Settings screen shows Managed by your organization with a lock icon next to every value the organization has set. Locked values cannot be changed on the device; contact your administrator if one is wrong. Values the organization did not set, typically the mobile number, remain yours to fill in.
Administrators: see MDM configuration.
Device registration#
Some organizations enable API registration required on their FileCap server. Each device then has to prove once that it belongs to the sender address. The app (version 2.3 or later) notices this after the connection check and opens the registration screen:
- Tap Send verification code. FileCap emails a registration code to your address.
- Tap the link in that email, or paste the code (it starts with
DVC) in the app and tap Register this device.
That is all; the app keeps the registration and sends it along with every transfer. If the server later rejects it (for example because an administrator removed the device), the app asks you to register again. Under Settings > Device Registration you can see the status and register again at any time. Registration is tied to your email address and server: change either, and the app asks for a new registration.
3. Send a first transfer#
Go to the Transfer tab, tap Send Files or Send Photos & Videos, add a recipient and send. The user guide walks through every option.
Mobile number#
Your mobile number is optional. It is only attached to a transfer when you choose SMS code as verification method, so the server can link the codes it sends to you. The app offers to add it the first time you choose SMS verification; you can skip that and add it later in Settings. Numbers are cleaned up automatically when you paste them: spaces, dashes and the (0) in +31 (0)6 ... are removed.