
Using the Office 365 Add-in
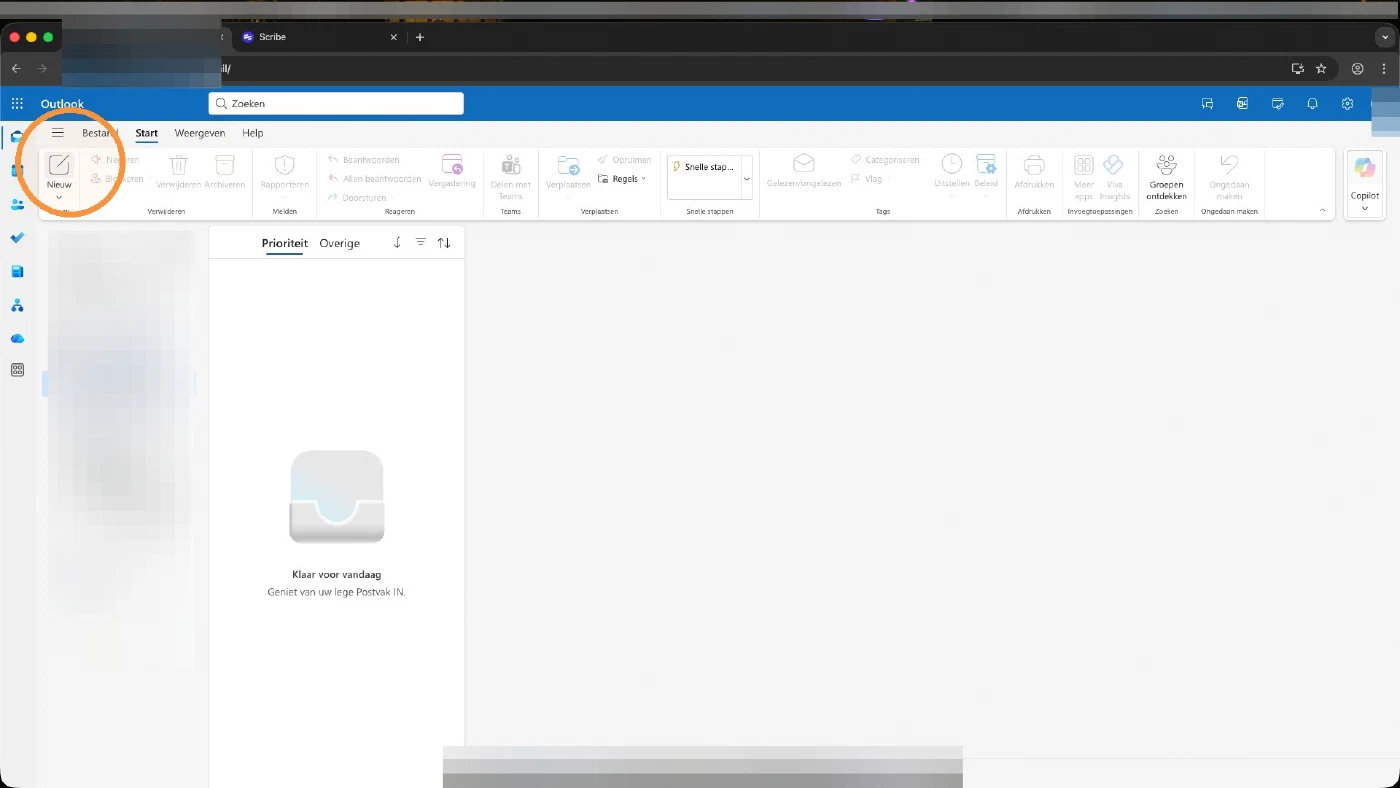
- To get started, compose a new email.
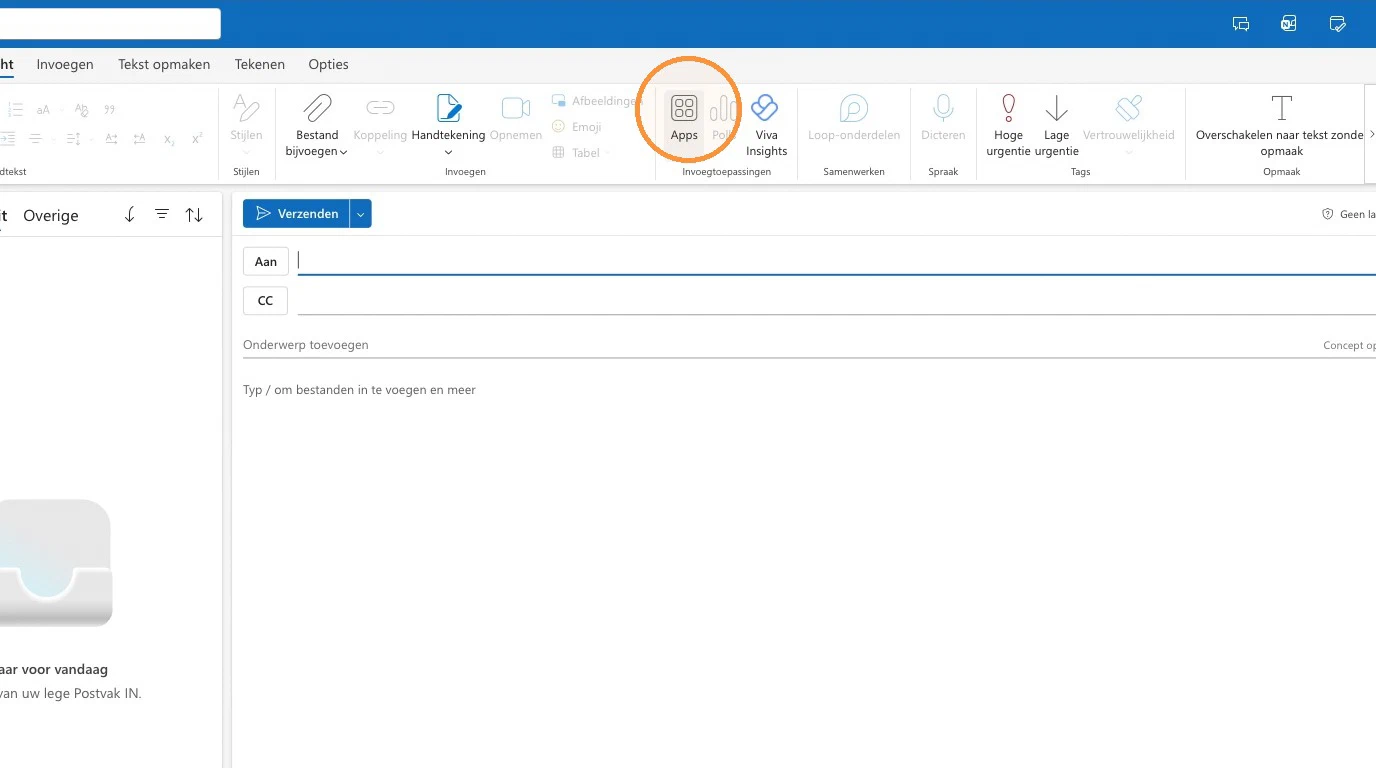
- Now open FileCap by looking at the top under “Apps”.
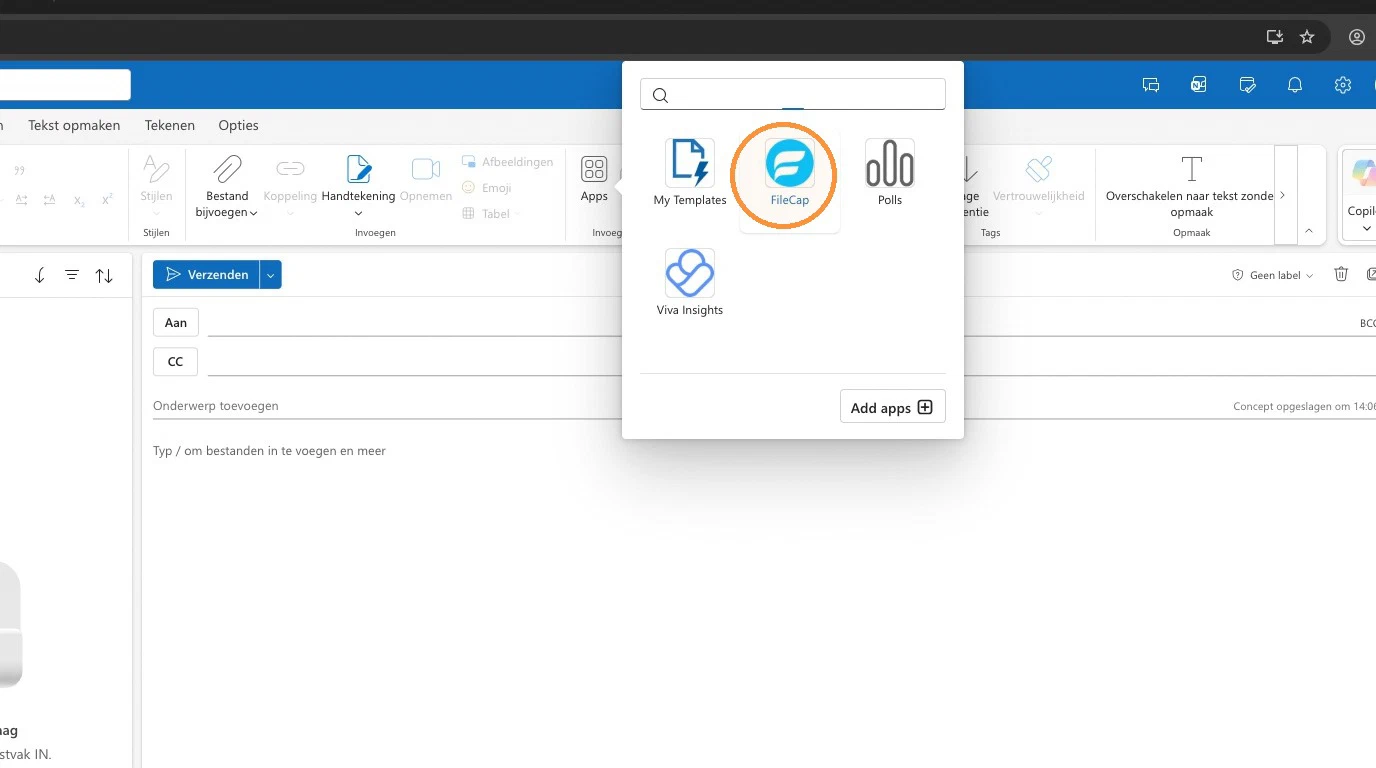
- FileCap is listed there — select it.
Tip: after opening FileCap you can click the “pin” icon on the right, so that FileCap always opens when composing an email.
Encrypt email & encrypt attachments#
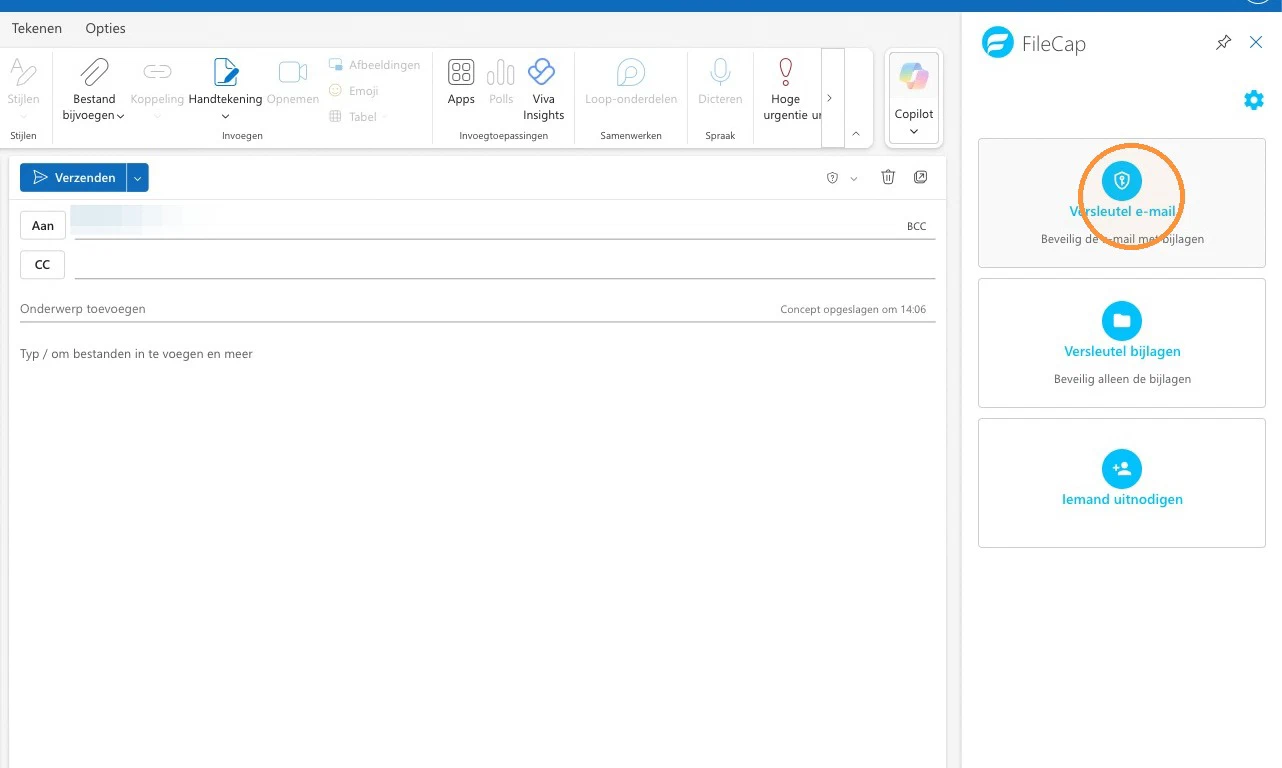
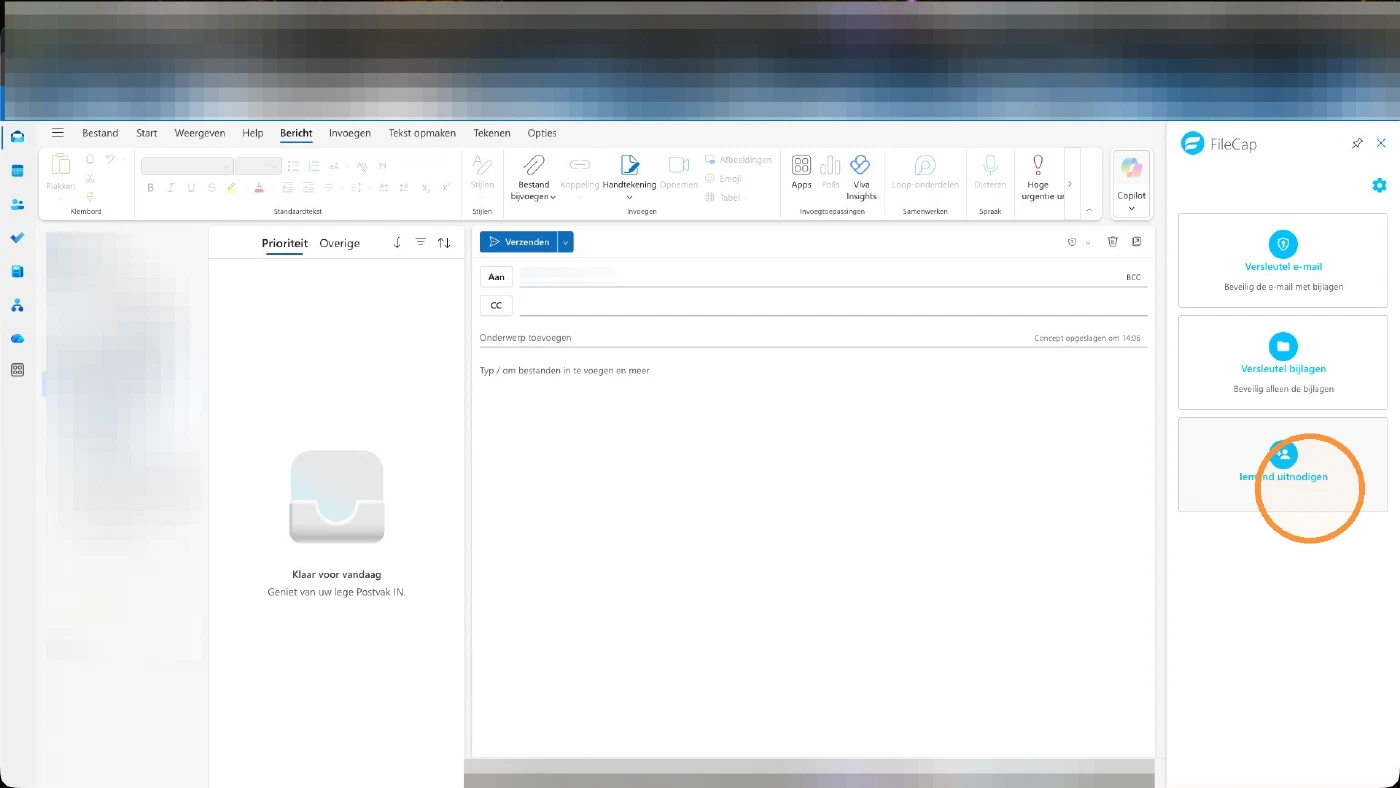
- A selection menu opens on the right with 3 options.
- Encrypt email: encrypts the entire email, including the message text and attachments. The recipient receives an “encrypted message” and must log in to view the email.
- Encrypt attachments: encrypts only the attachments. When you send the email, a link is added inside the message that the recipient can use to download the files.
- Invite someone: invite another person (outside the organization) to send something to you via FileCap.
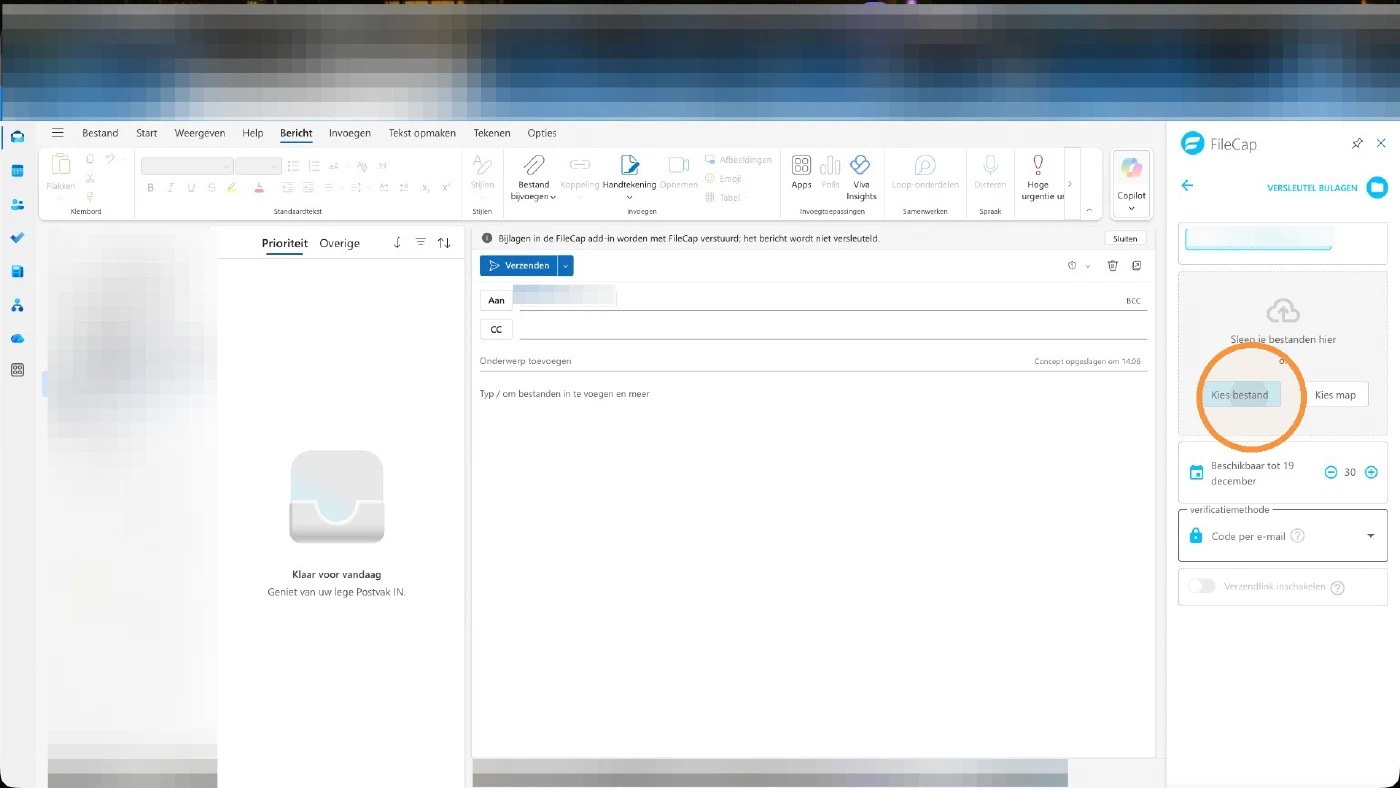
- After selecting the desired sending method, select your file.
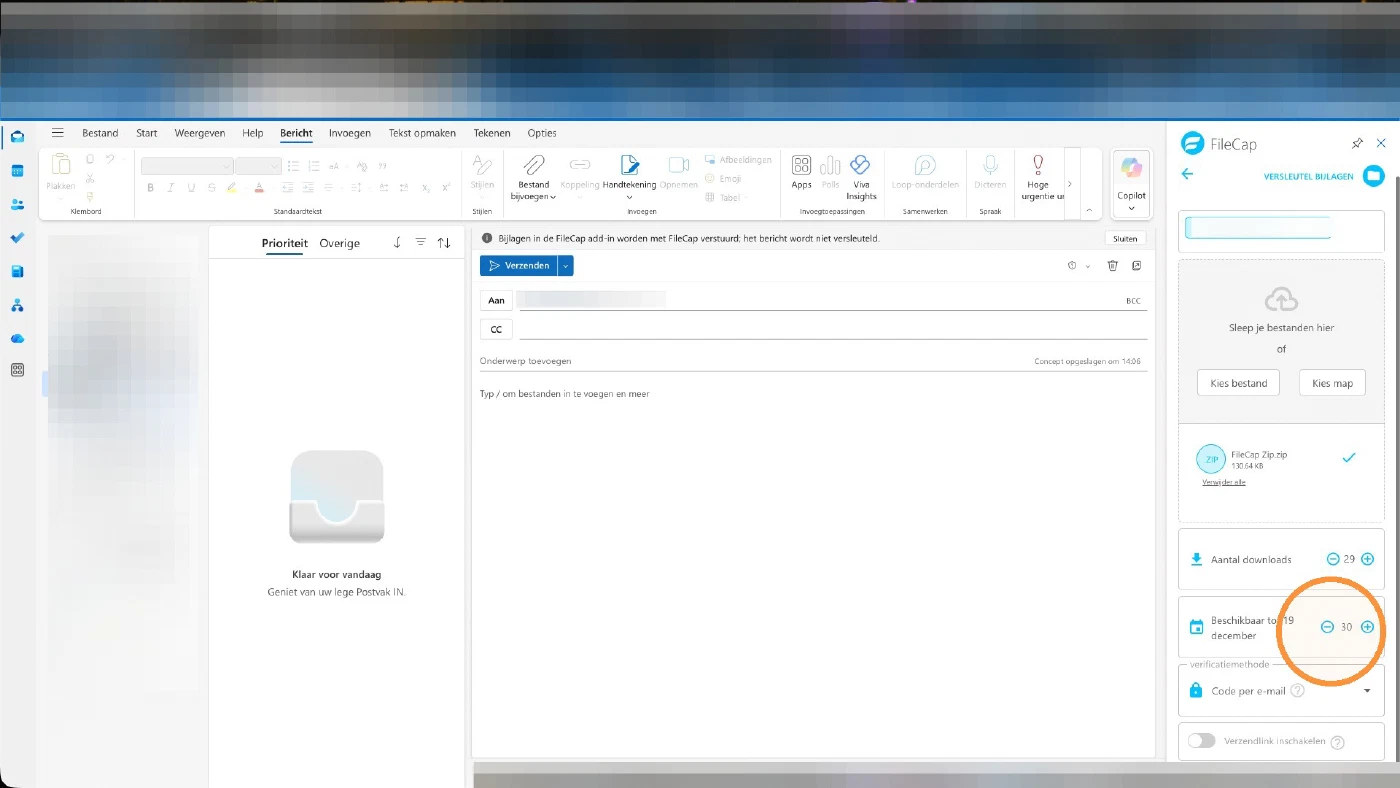
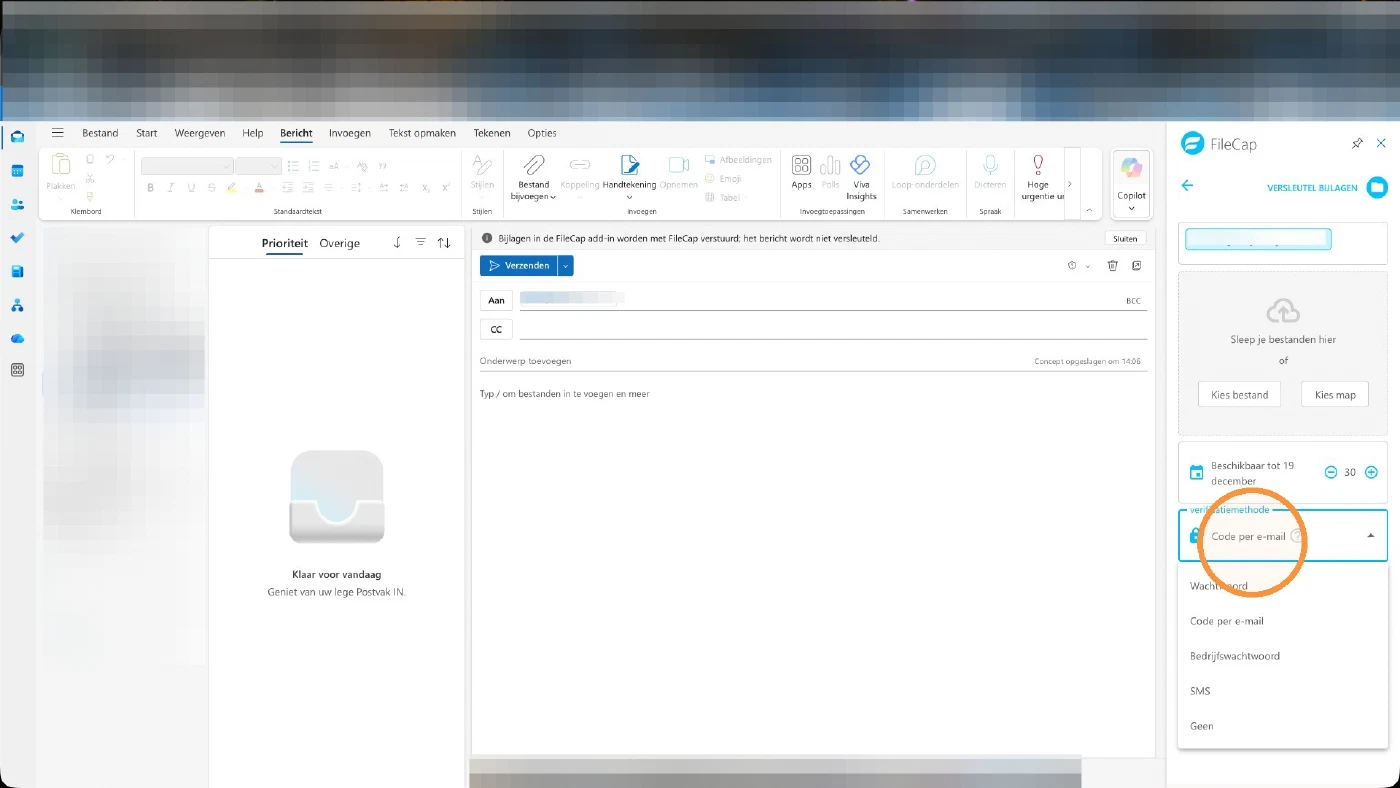
- Choose how long the file should remain available, in days. Once that date is reached, the link no longer works.
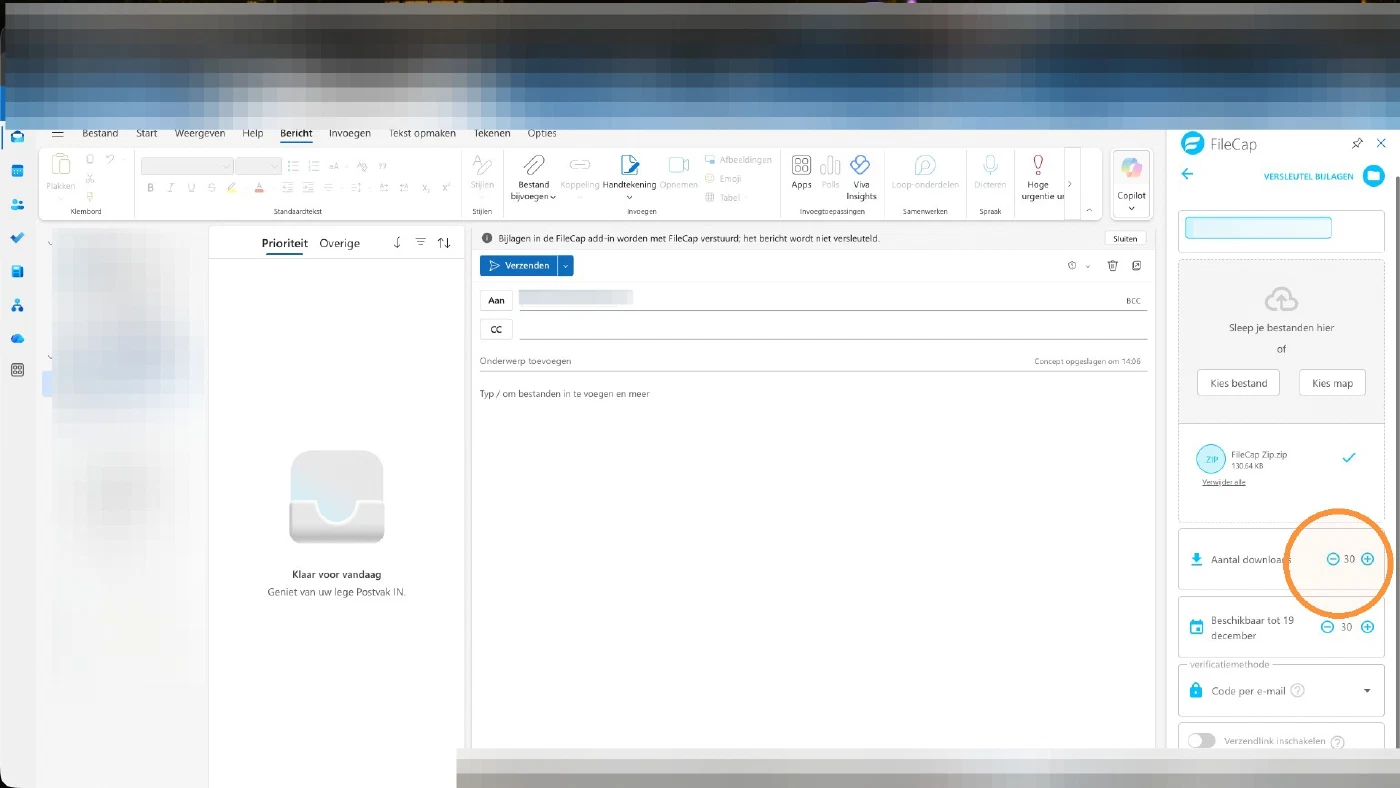
- Choose how many times the file may be downloaded. Once that amount is reached, the link no longer works.
- Then select the 1st verification method for the file and, if enabled, the 2nd verification method.
Creating a transfer link#
Don’t want to send the files by email, but via a link instead? Use the method below to package the files into a link, which you can then share via WhatsApp or Teams, for example.
First your administrator must enable “Let user generate FileCap link manually” under Add-ins; you will then see the “Enable transfer link” option at the very bottom.
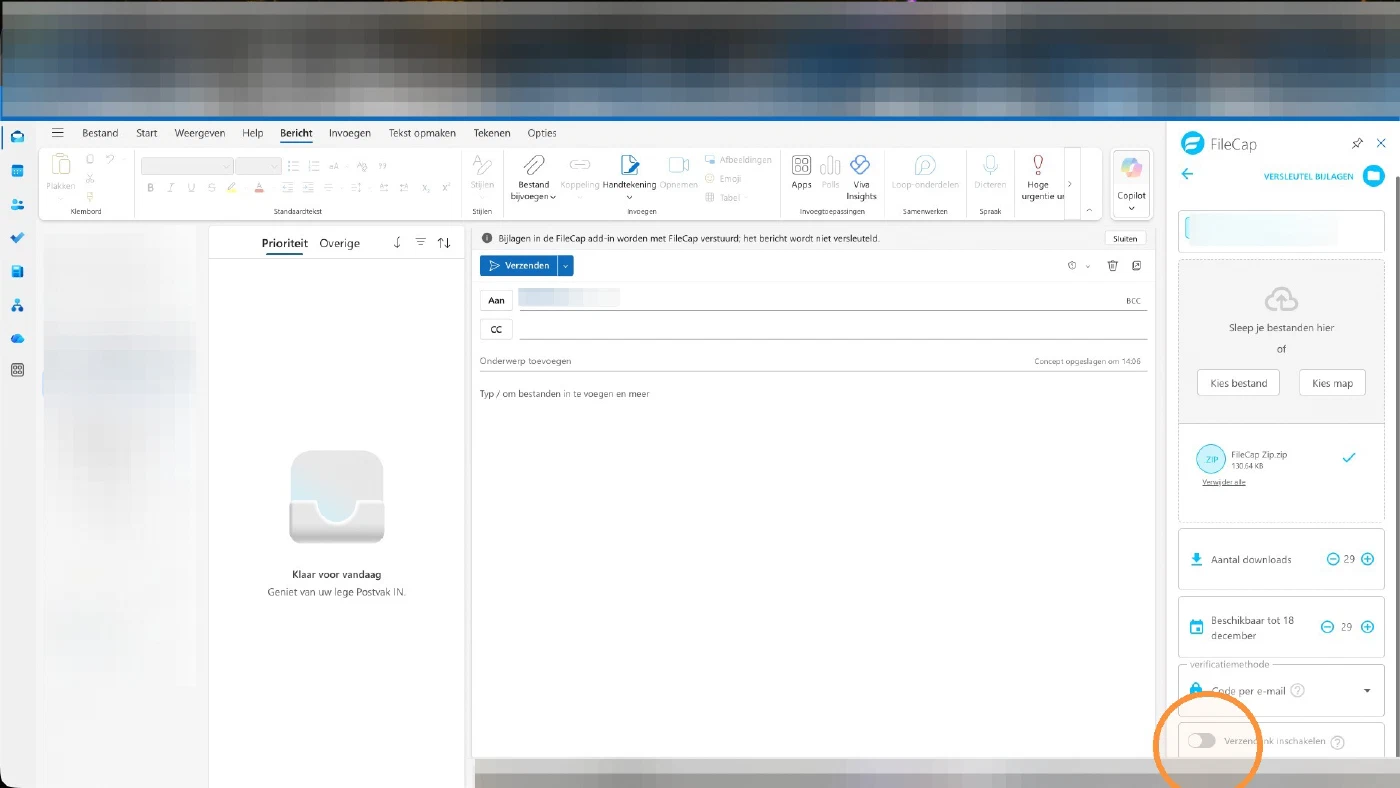
- Once this option is enabled, click “Generate link”. The files you added on the right are now packaged within FileCap.
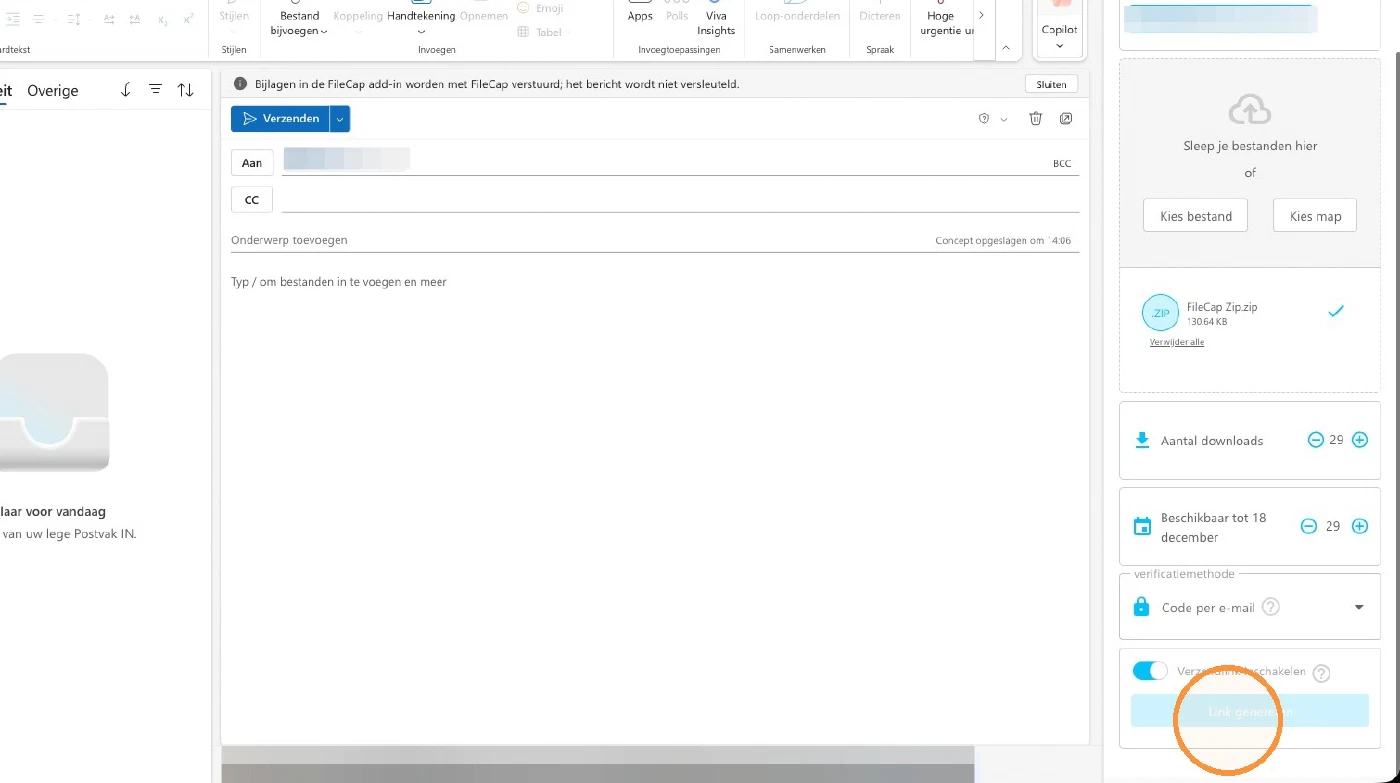
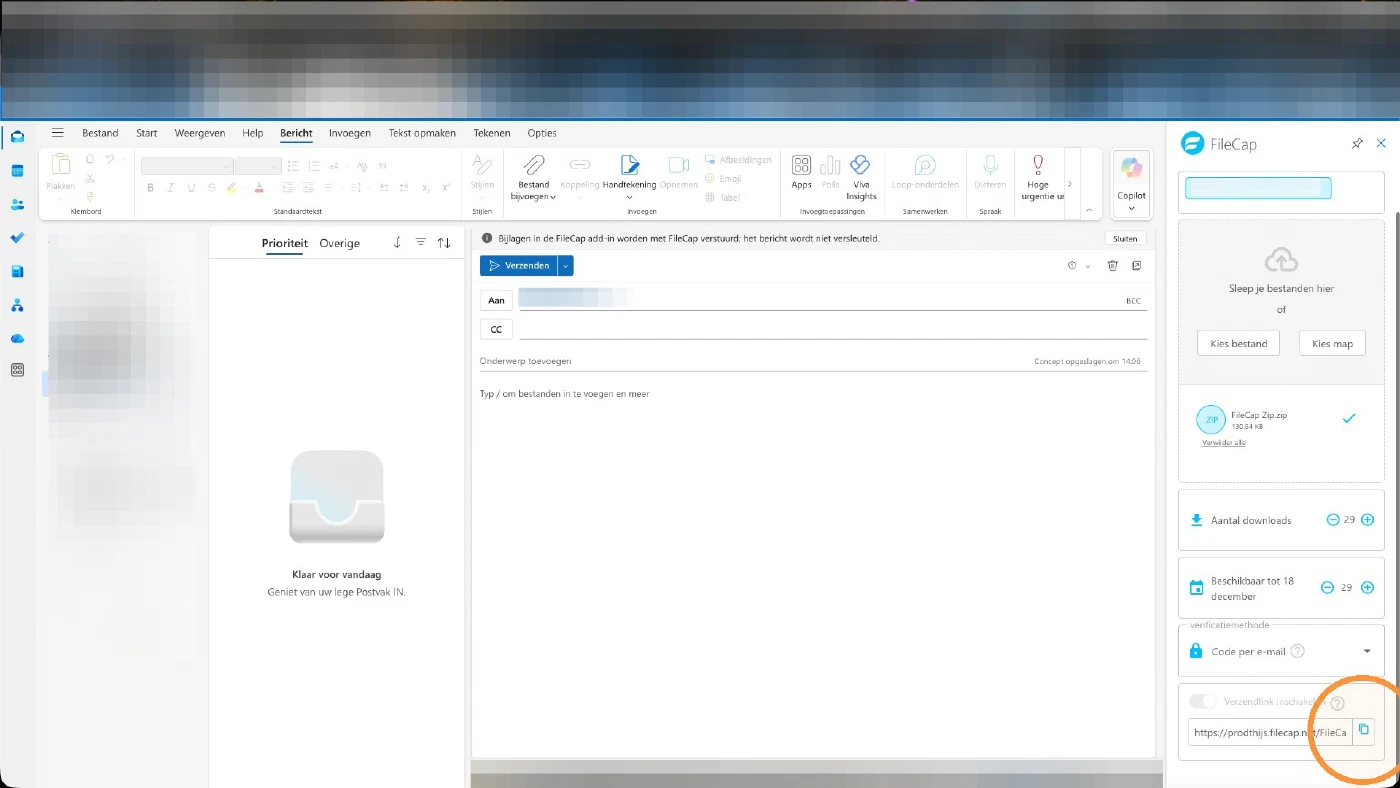
- This may take a moment. When it is done, a link appears, which you can copy and share outside the email.
Inviting someone#
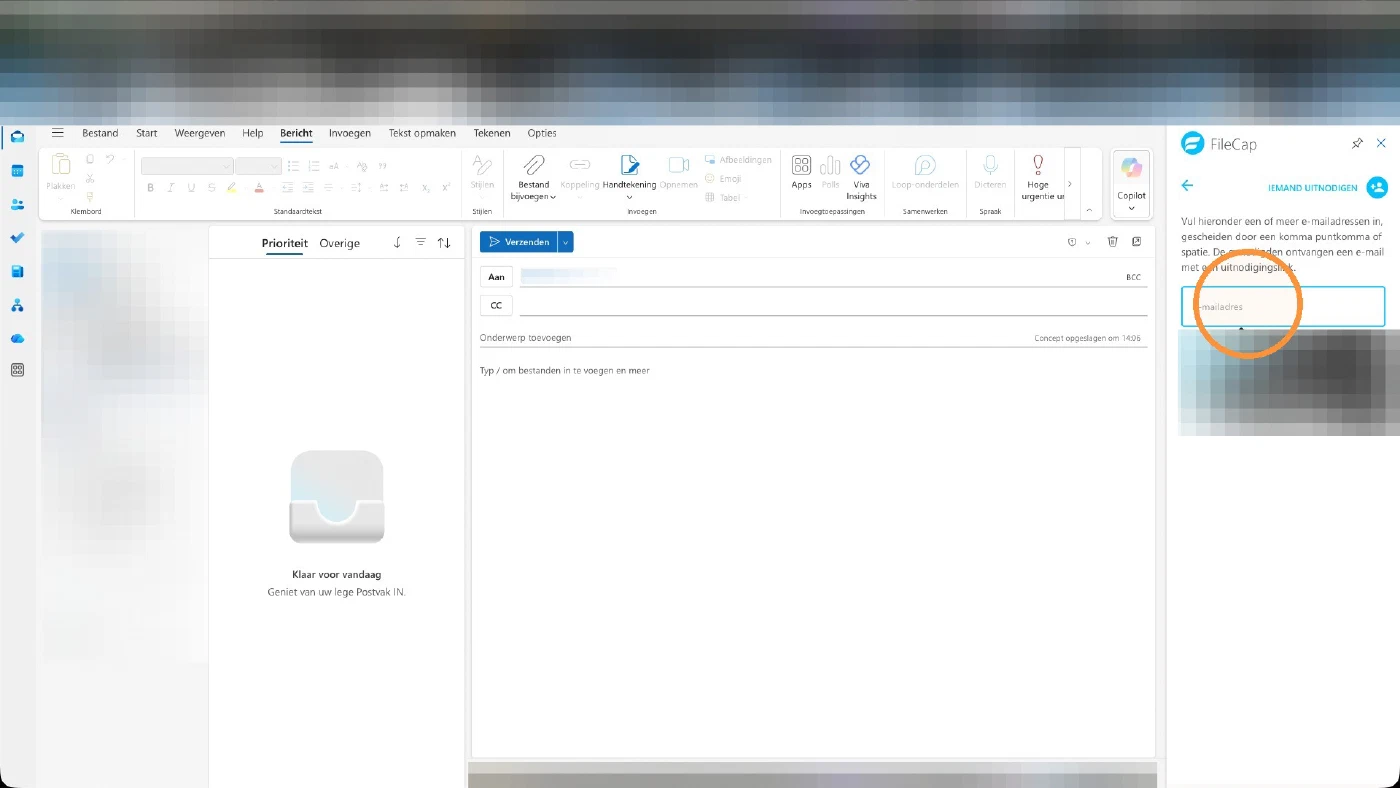
- To invite someone to send something to you, select the “Invite someone” option.
- On the right, enter the email address of the person you want to invite to send something to you, and select “Send invitation”.