

Uninstall the FileCap Outlook Add-in
The add-in is listed in Windows as FileCap Outlook Plugin. Close Outlook before you remove it.
Remove it on one PC#
- Open Settings.
- Windows 11: go to Apps > Installed apps.
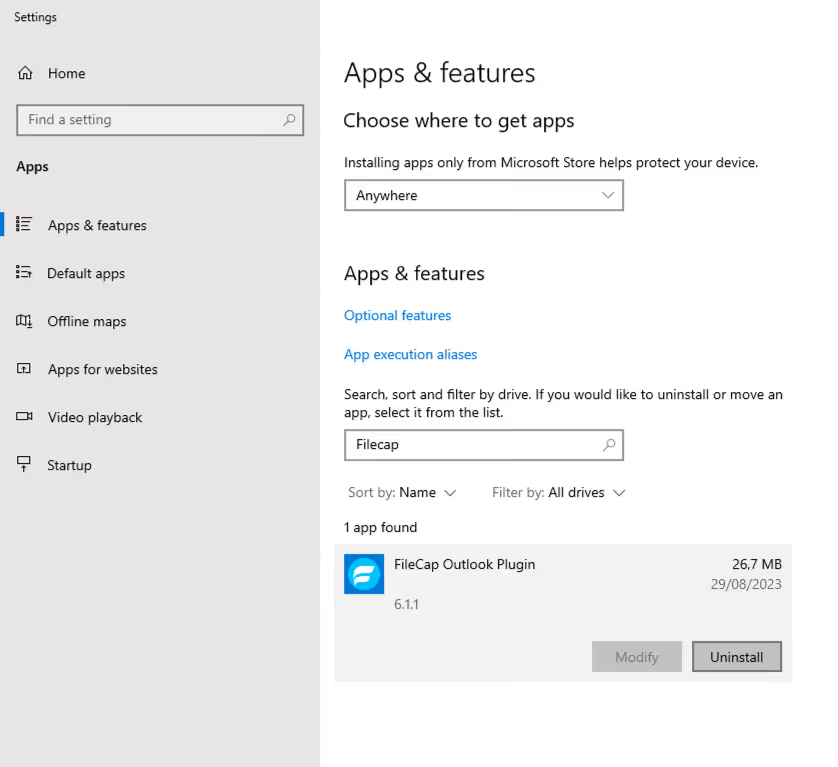
- Windows 10: go to Apps > Apps & features.
- Search for FileCap Outlook Plugin.
- Click Uninstall (on Windows 11 first click the … menu next to the app) and confirm.
- Restart the computer if Windows asks for it.
Silent removal or removal with a Group Policy#
Remove the add-in with msiexec, using the product code of the installed version:
msiexec /x {ProductCode} /qnThe product code can differ per version. To look it up on a PC where the add-in is installed, run this in PowerShell:
Get-ChildItem HKLM:\SOFTWARE\Microsoft\Windows\CurrentVersion\Uninstall, HKLM:\SOFTWARE\WOW6432Node\Microsoft\Windows\CurrentVersion\Uninstall | Get-ItemProperty | Where-Object DisplayName -eq "FileCap Outlook Plugin" | Select-Object DisplayName, DisplayVersion, PSChildNamePSChildName is the product code. If you still have the MSI package that was used for the installation, you can also remove it by package:
msiexec /x "FileCap V<version>_Outlook.msi" /qnWhen the add-in was deployed with a Group Policy software installation, remove the package there with All Tasks > Remove and choose Immediately uninstall the software from users and computers.
Registry values that may remain#
Registry values under HKEY_LOCAL_MACHINE\SOFTWARE\FileCap and HKEY_CURRENT_USER\Software\FileCap may remain after uninstalling, for example the values the add-in wrote for each user, such as the language, log level and registrations under Users. Delete these keys if you want to remove everything, or keep them for a later reinstallation. See Specific settings for what each value does.