Registering the plugin#
The first time you use the FileCap Outlook Plugin, it must be registered.
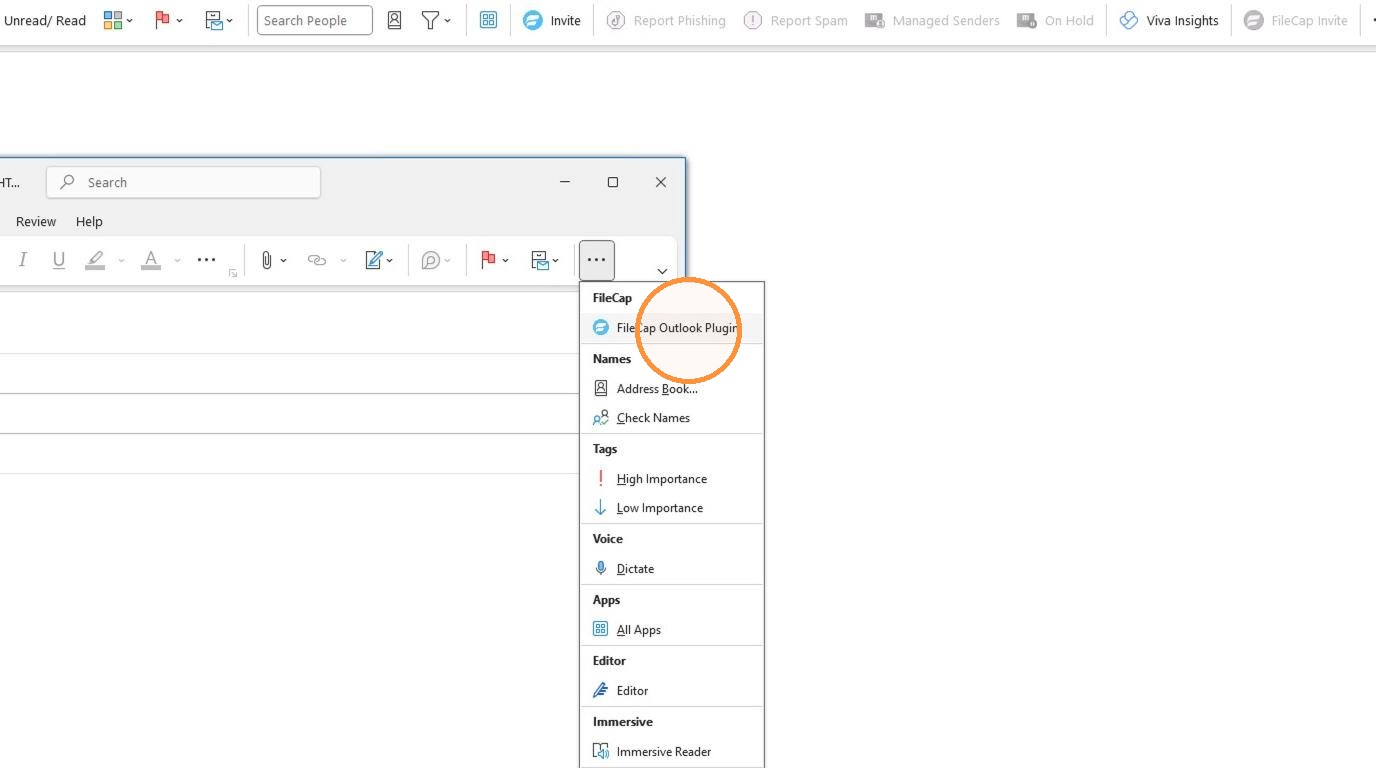
- Compose a new email and select the FileCap Outlook Plugin.
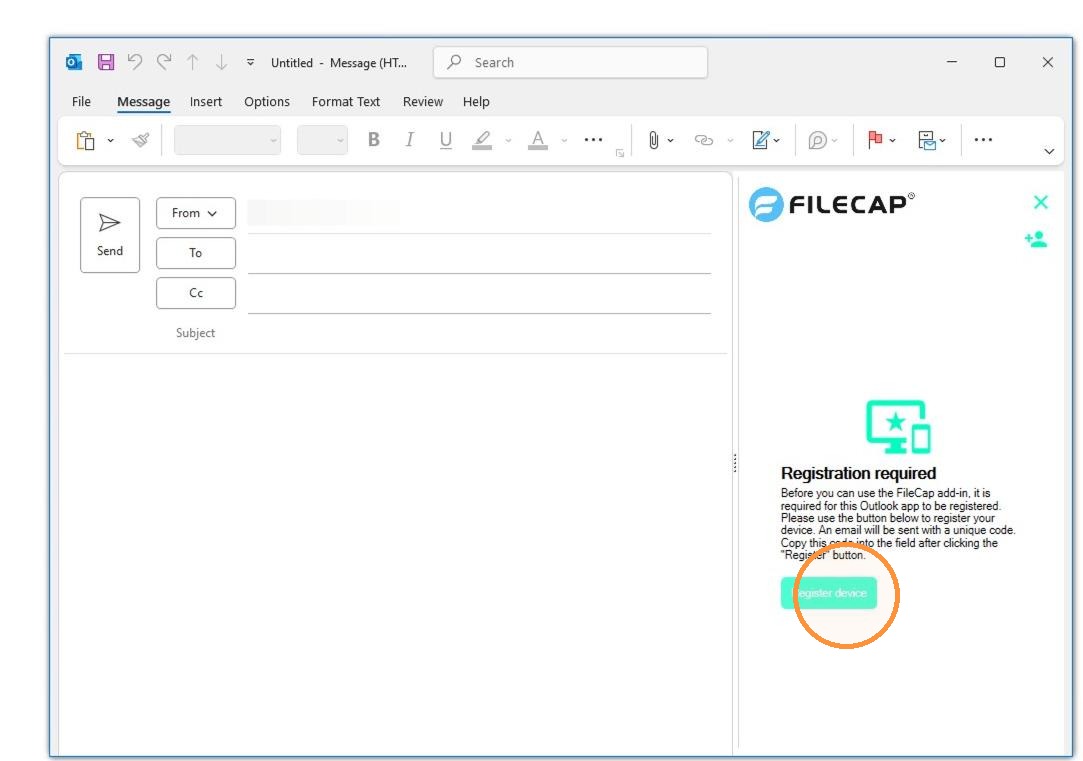
- Click “Register device”. In a few moments you will receive an email containing the code.
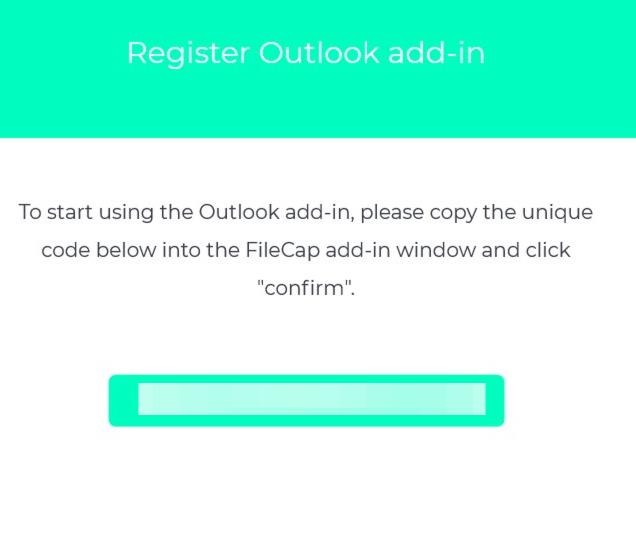
- Copy the code from the email.
- Enter the code and click “Confirm”. FileCap is now registered and you can start using it.
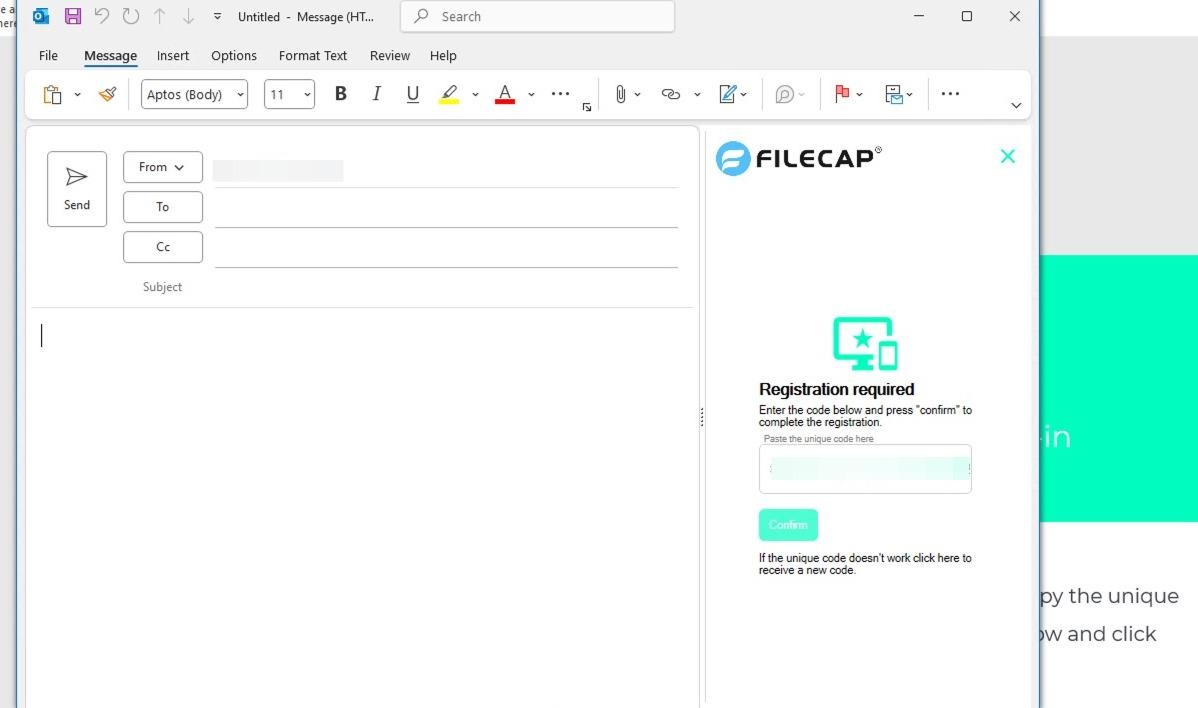
If the newly composed email did not open in a new window, compose a new email again and select the plugin to be able to enter the registration code.
Using the FileCap Outlook Plugin#
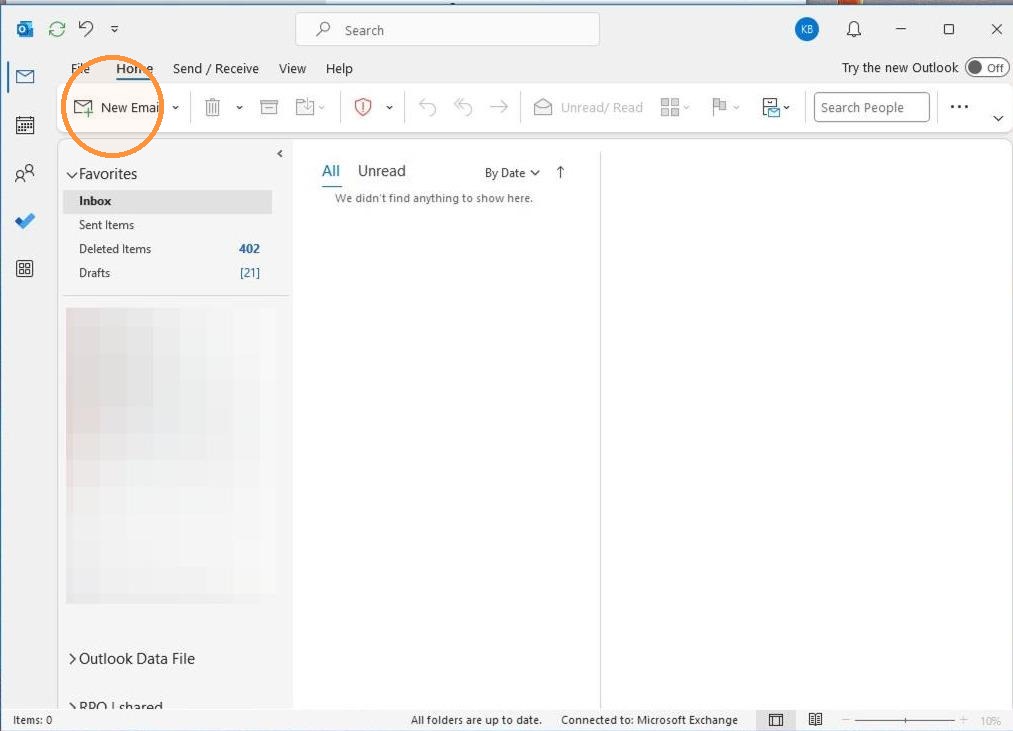
- To use FileCap, start by composing a new email in Outlook.
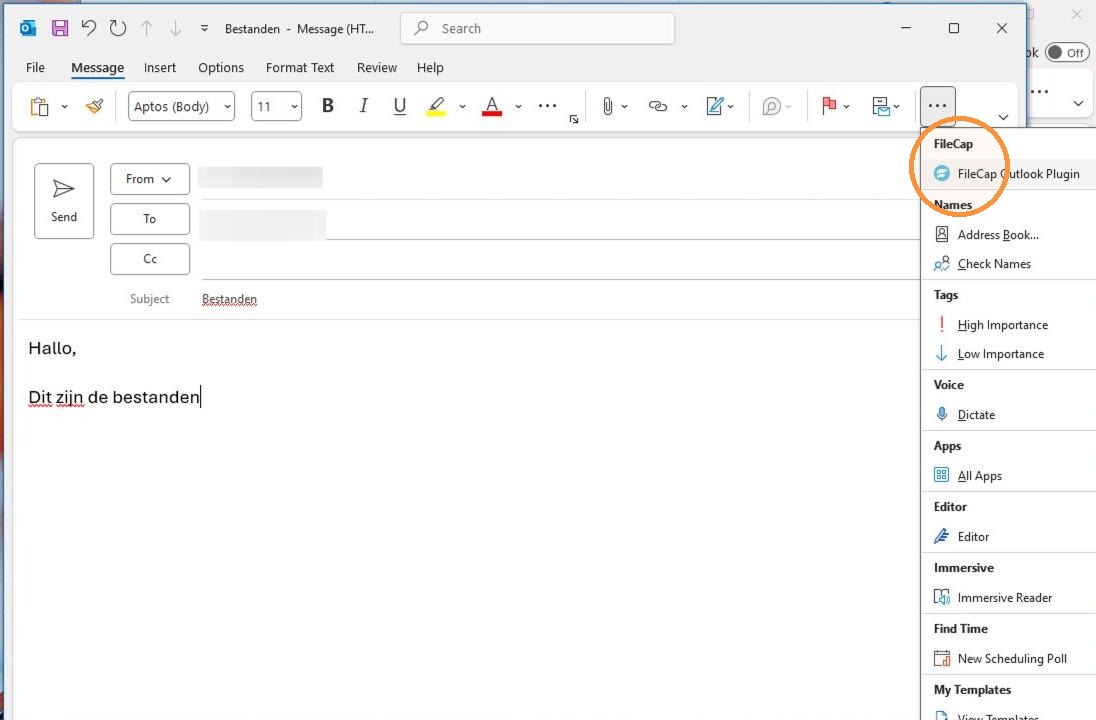
- Compose the email and open the FileCap Outlook plugin.
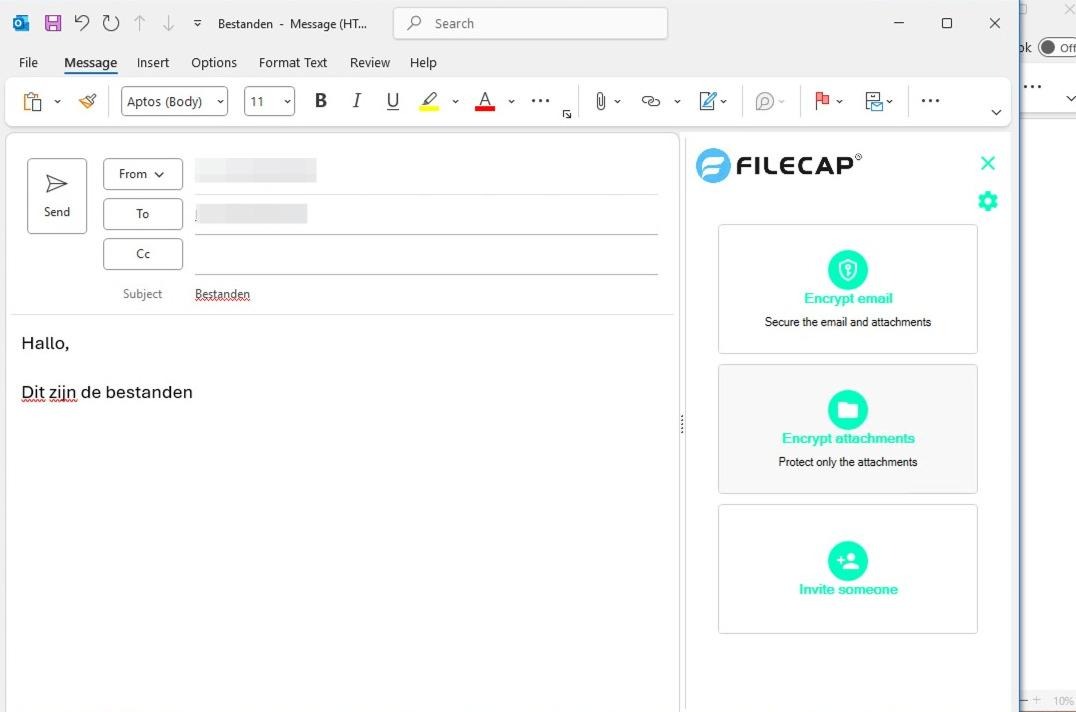
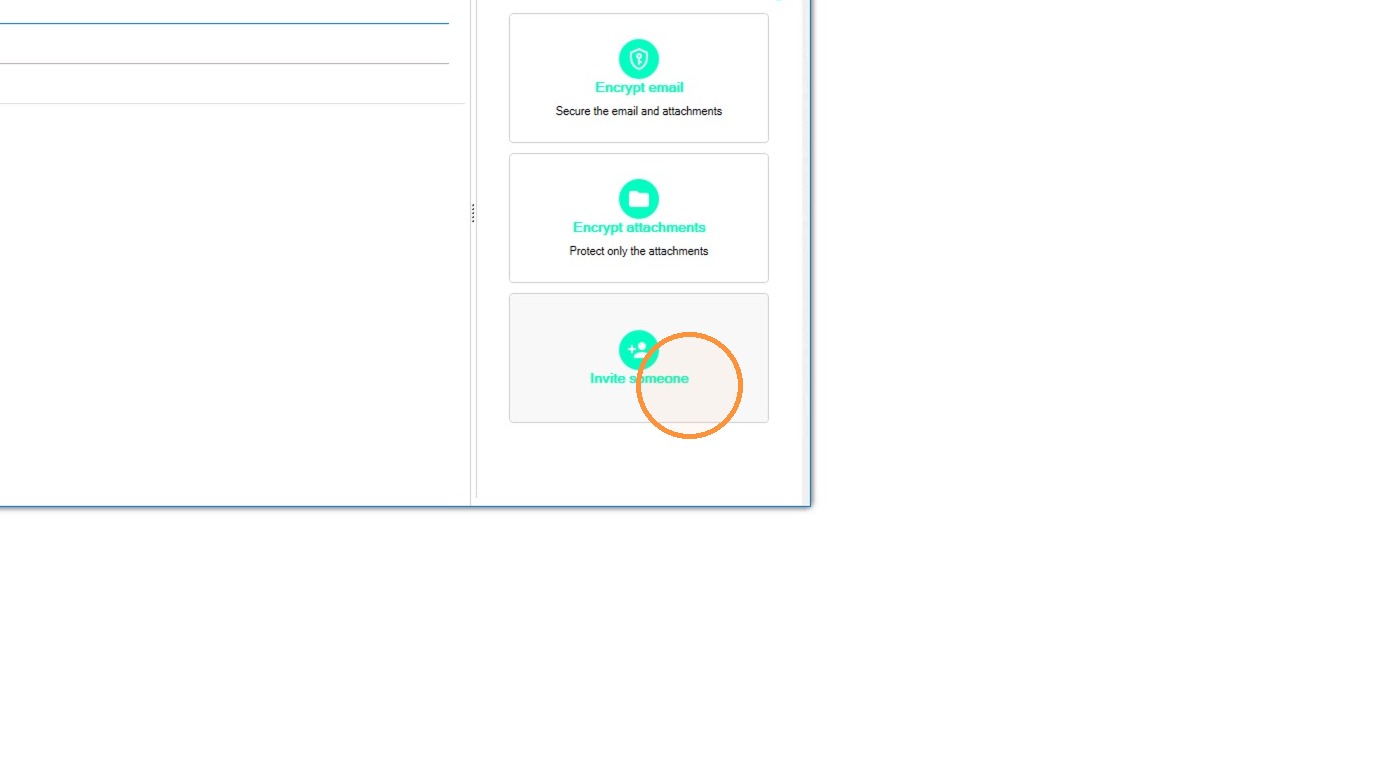
- A selection menu follows, with three options. Encrypt email: sends the entire email encrypted — both the attachments and the message text. Encrypt attachments: encrypts only the attachments; a link is placed in the email so the recipient can download the files. Invite someone: invite someone to send files to you via FileCap.
Encrypt email & encrypt attachments#
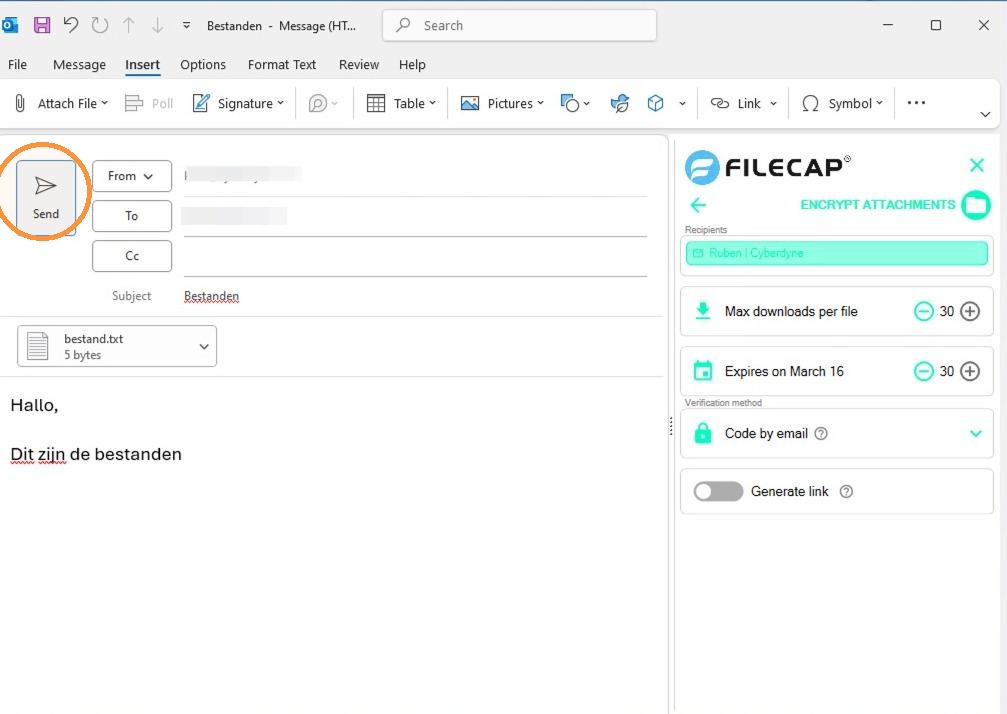
In this example, the option to encrypt only the attachments was chosen. Sending a fully encrypted email works the same way.
- Add the attachment as you normally would.
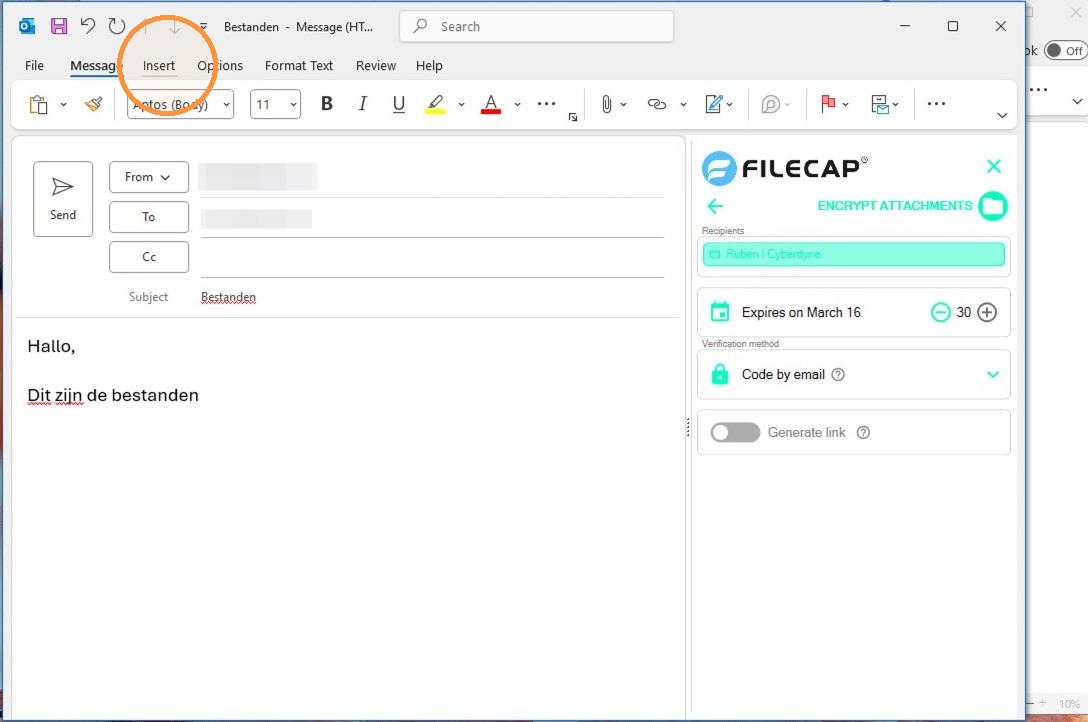
- Under “Verification method” you can choose which security method to use. There are 5 verification options in total; depending on the configuration you may see different options. Code by mail: the recipient receives a code by email when opening the transfer, which unlocks it. Password: adds a password as verification method; the recipient must know the password. Company password: a pre-configured password that can be used to secure the transfer. SMS: the recipient receives an SMS with the verification code to unlock the transfer. You must enter the recipient’s phone number. None*: sends the transfer without additional security options.
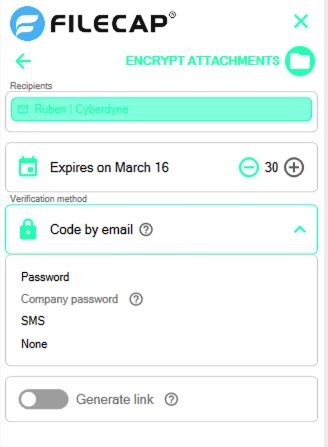
* If you send the email without additional security options, anyone with the link can view the transfer and download the files.
- The “Generate link” option can be used to create the link inside the plugin, so you can paste it into the email yourself. If this option is unavailable or disabled, the link is placed in the email automatically. When sending a fully encrypted email, this option is not available.
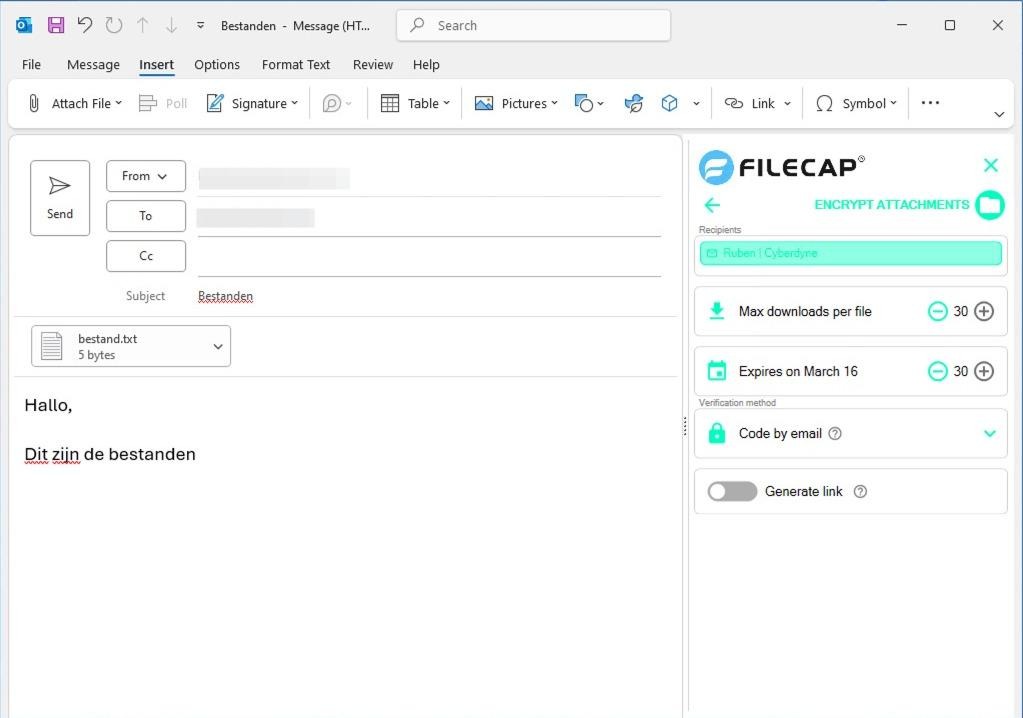
- You can configure how many times the recipient can download the file and until when the link to the files remains valid.
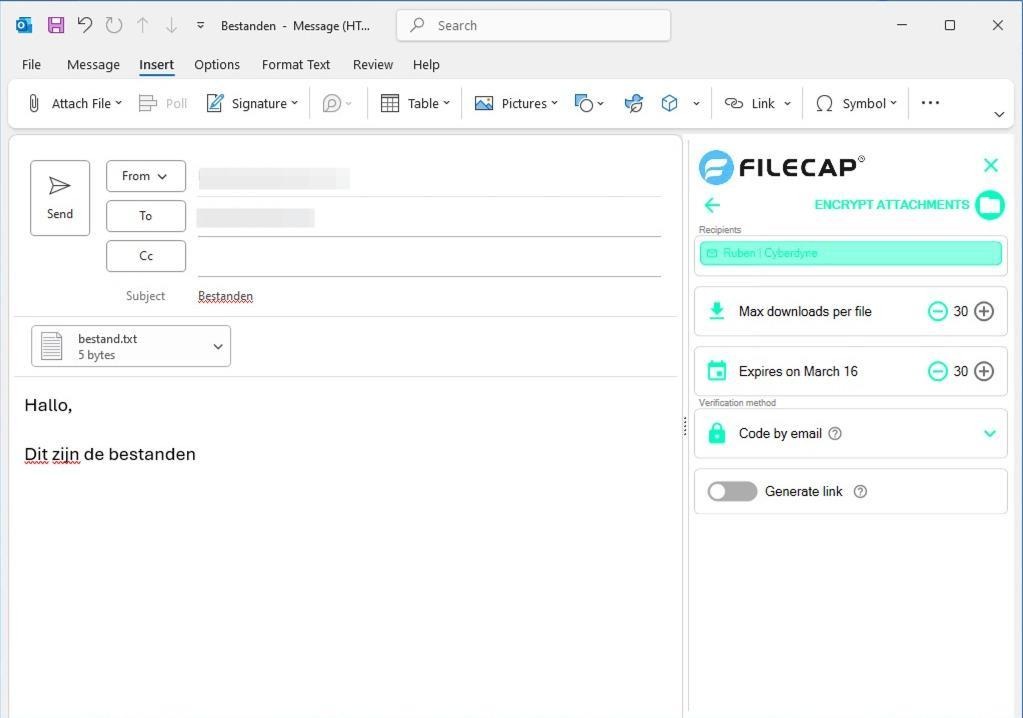
- When everything is configured, you can send the email.
Invite someone#
- To invite someone to send you a file in a secure way, choose the “Invite someone” option.
- Enter the email address of the person who should send you a file.
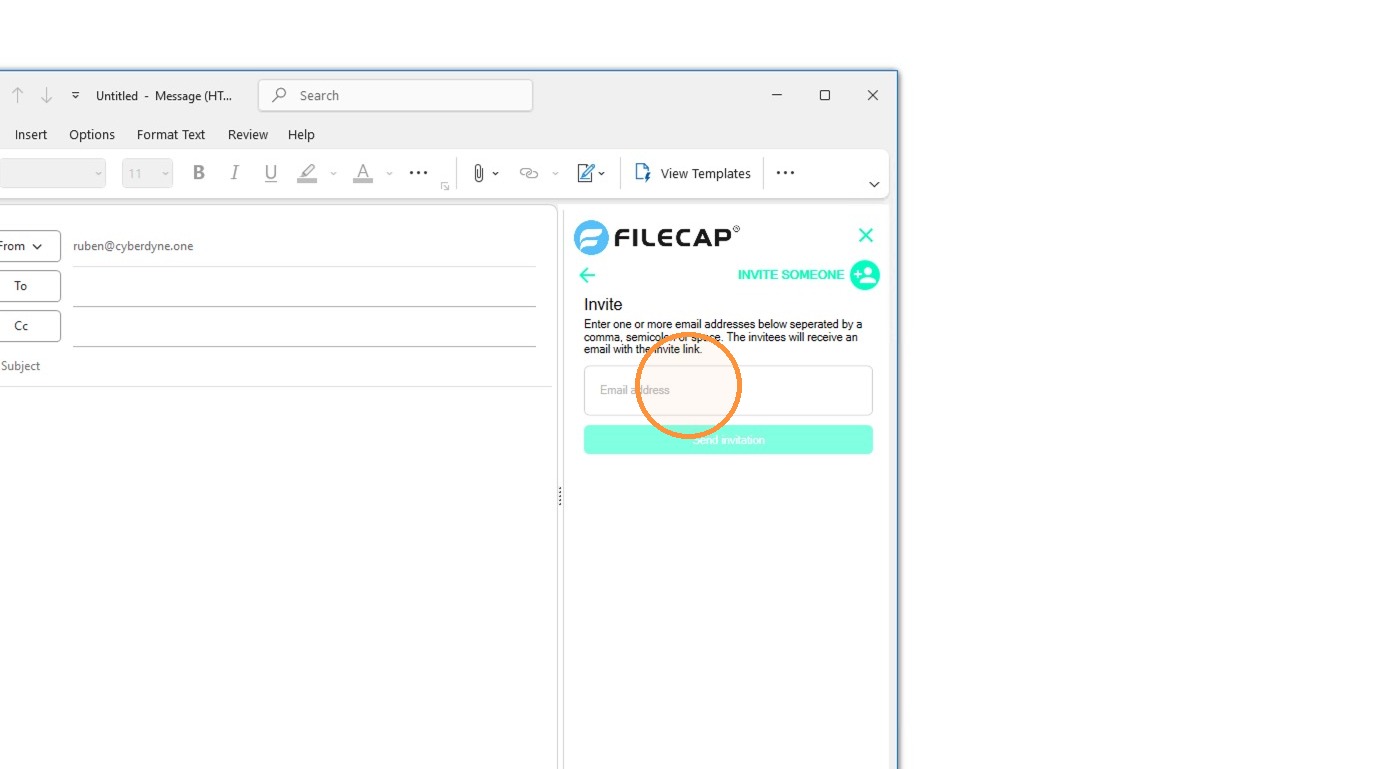
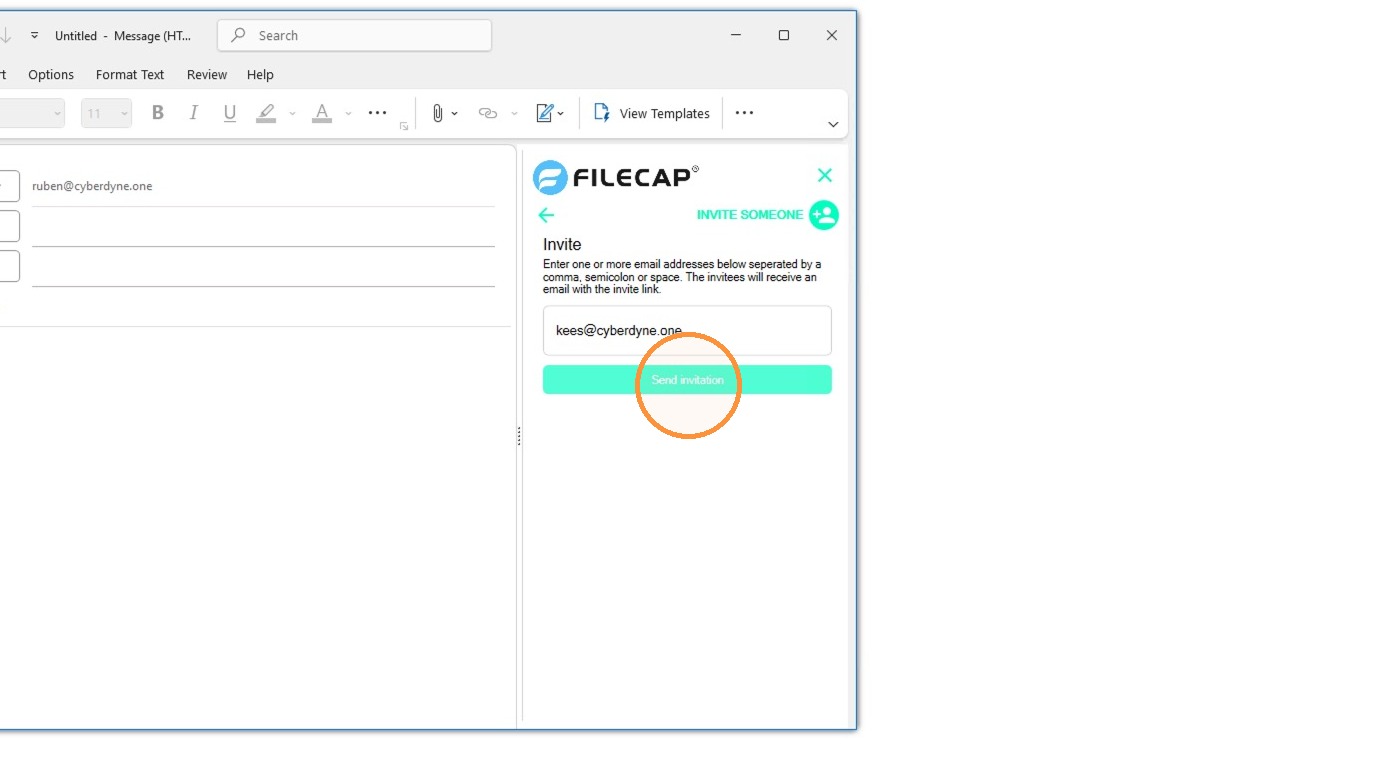
- Click “Send invite” and the recipient receives a link to upload the files.