
Public invitations
With the Public Invitations option, it is possible to generate a FileCap link so that people can easily send files to a specific email address linked to that link. This FileCap link can, for example, be placed on a website so that people can quickly send files to a specific department.
Creating a Public Invitation link#
- Log in to the admin portal with your admin credentials and go to “Configuration”.
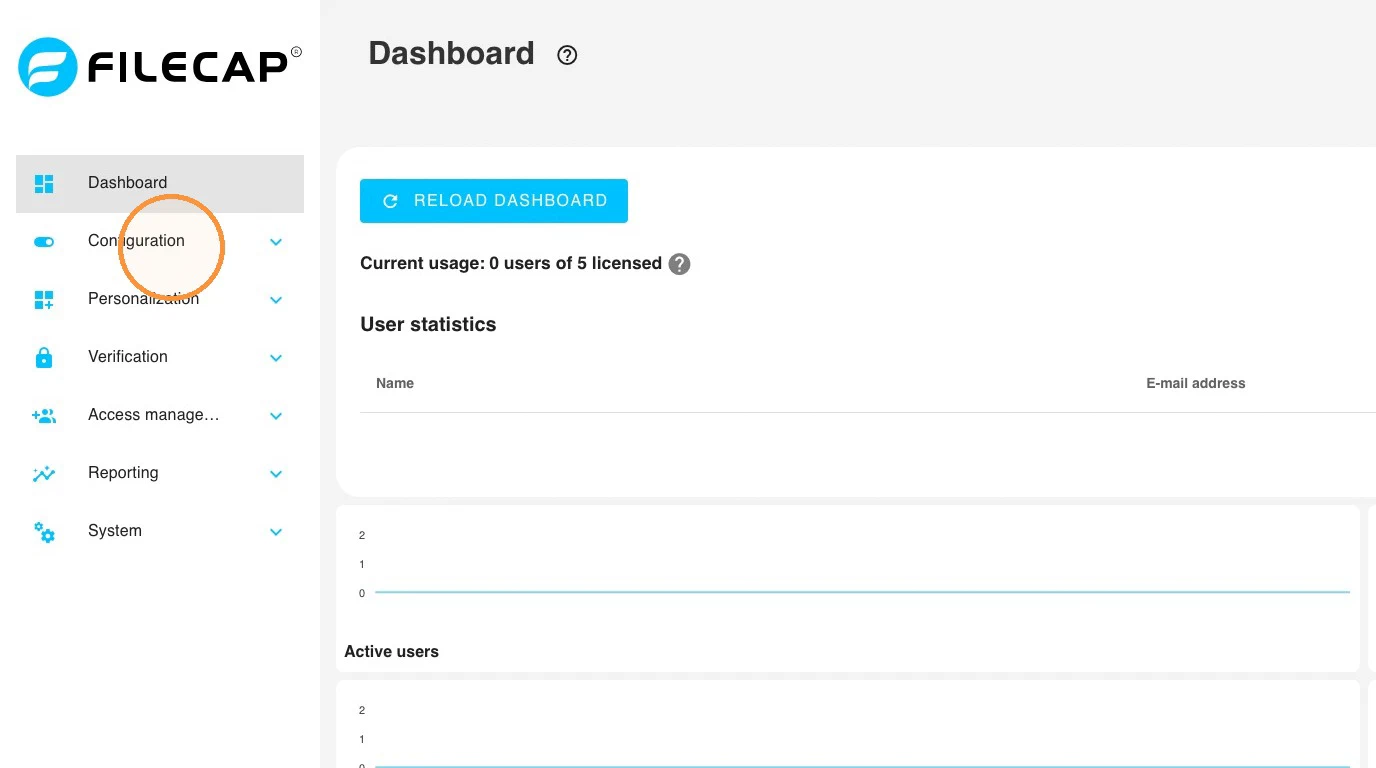
- Click “Public invitations”.
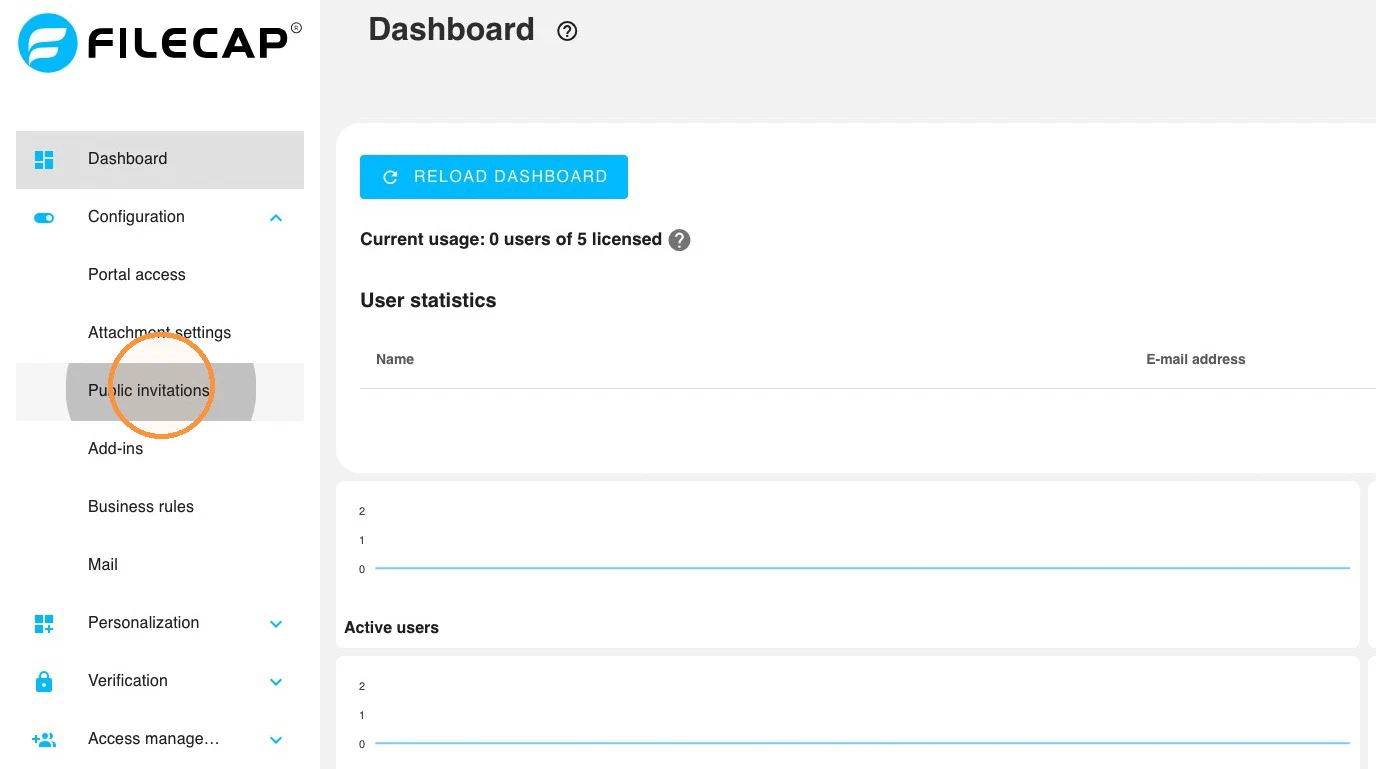
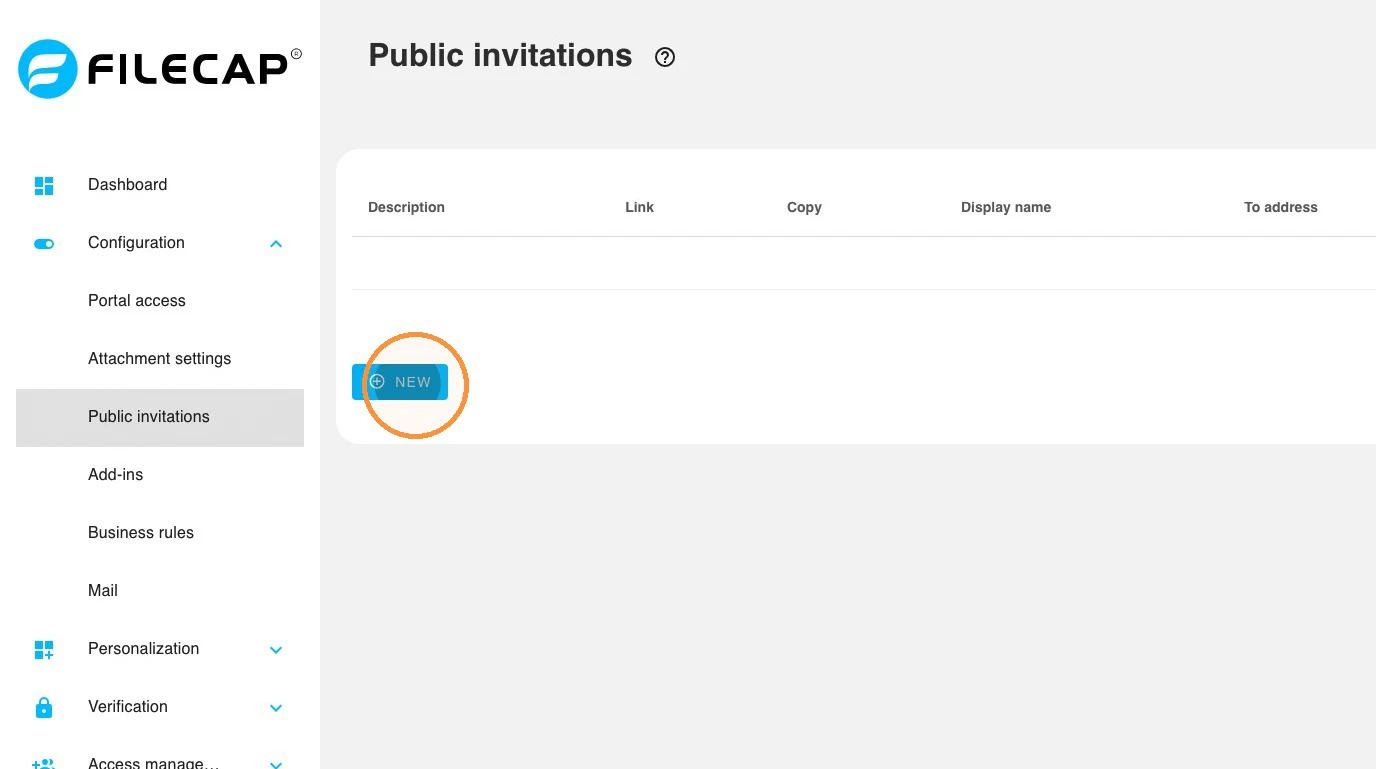
- Here you can create a link. Click “New” to get started.
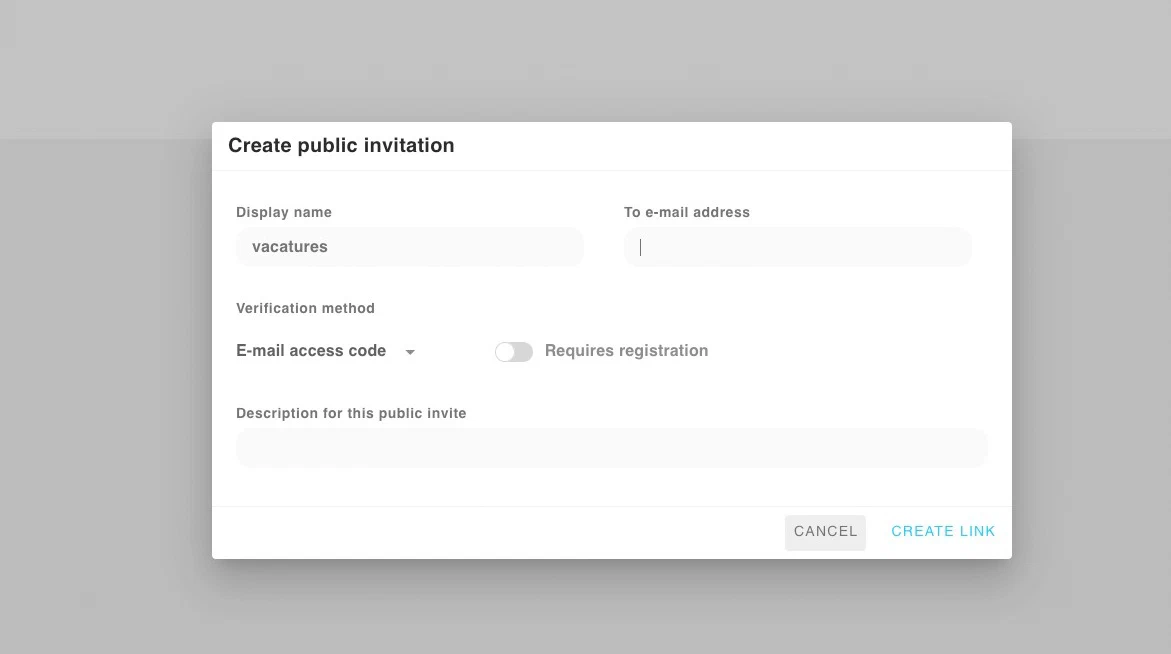
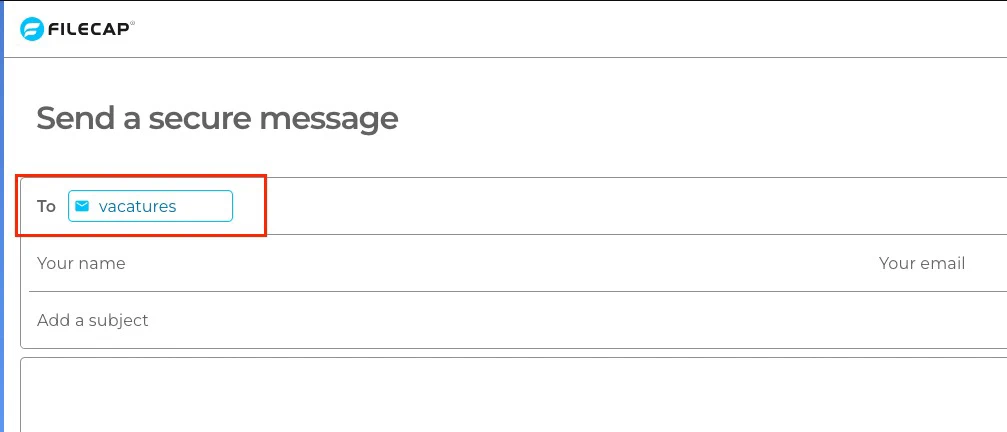
- At “Display name”, enter the desired display name. Users see this display name when they open the link.
Here the user sees the display name again:
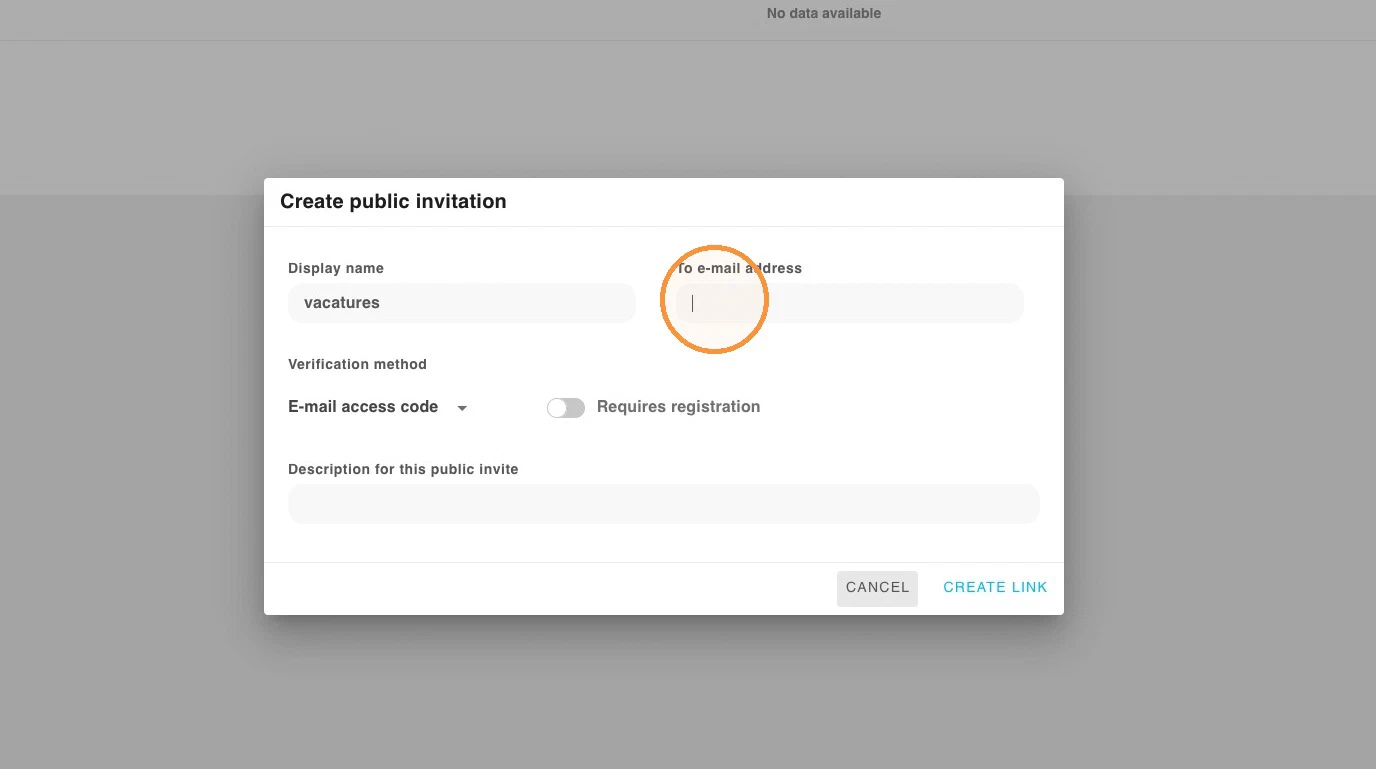
- At “To e-mail address”, enter the email address to which the data entered or uploaded via the link is sent.
- Under “Verification method”, choose the desired security method. It is applied when you, as the recipient, want to view the uploaded files.
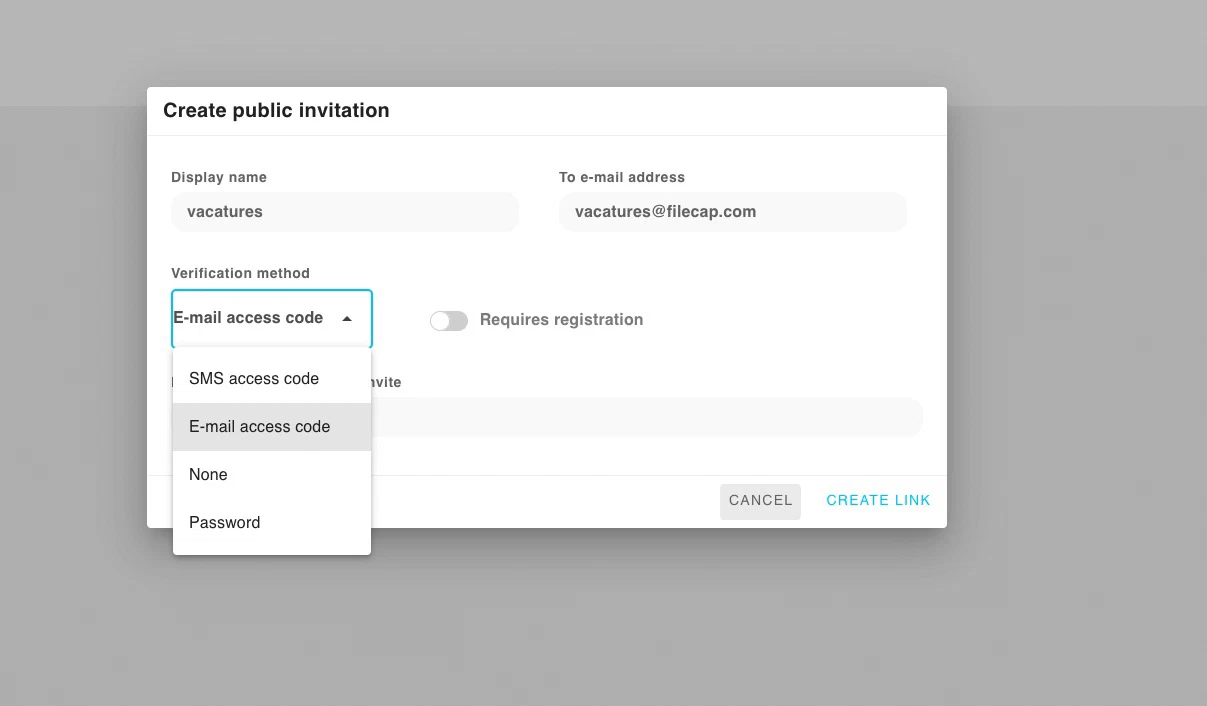
The verification methods you see depend on your configuration. More information about the available verification methods can be found under Verification options.
- The “Requires registration” option is important. Is it off? Then anyone can open the link and immediately start uploading and sending. Is it on? Then users must first register with the following details:
- name
- phone number
Only after successful registration do they receive the link.
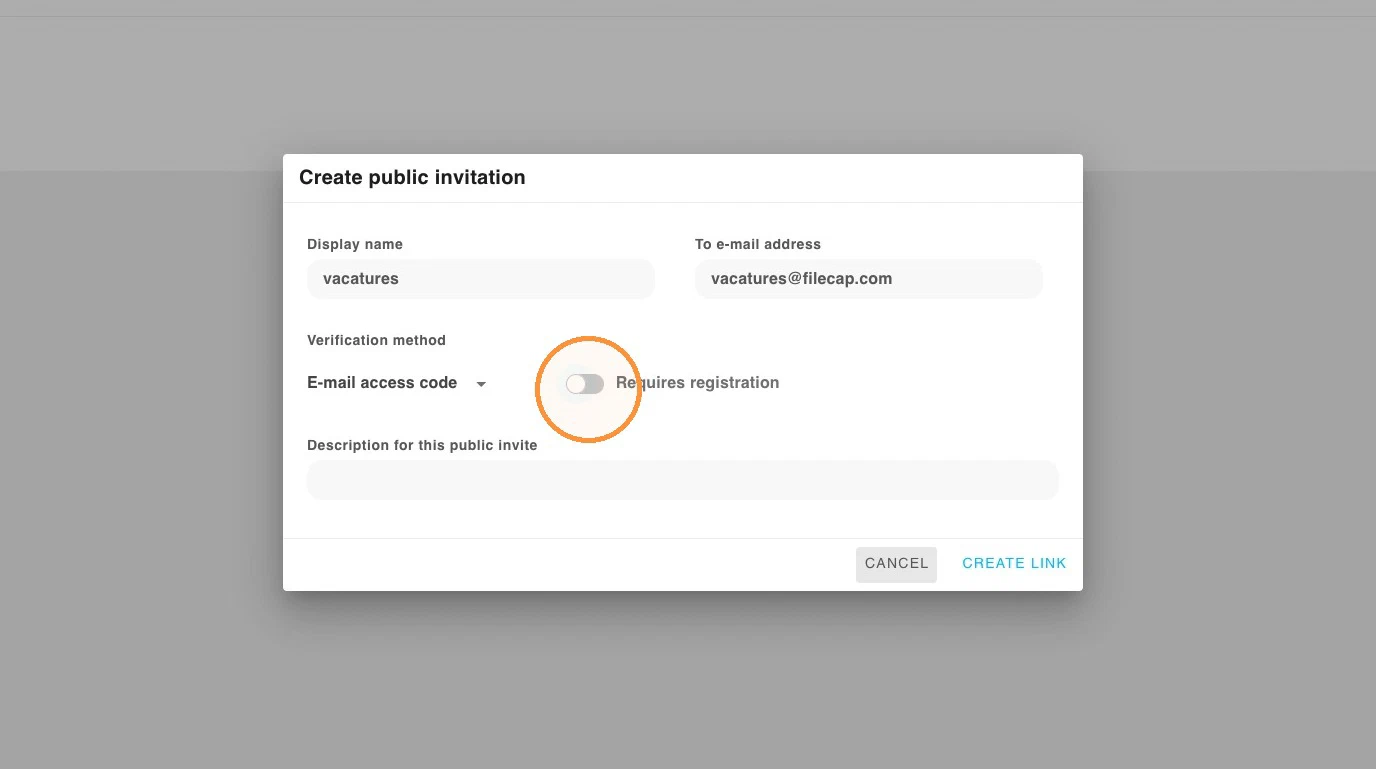
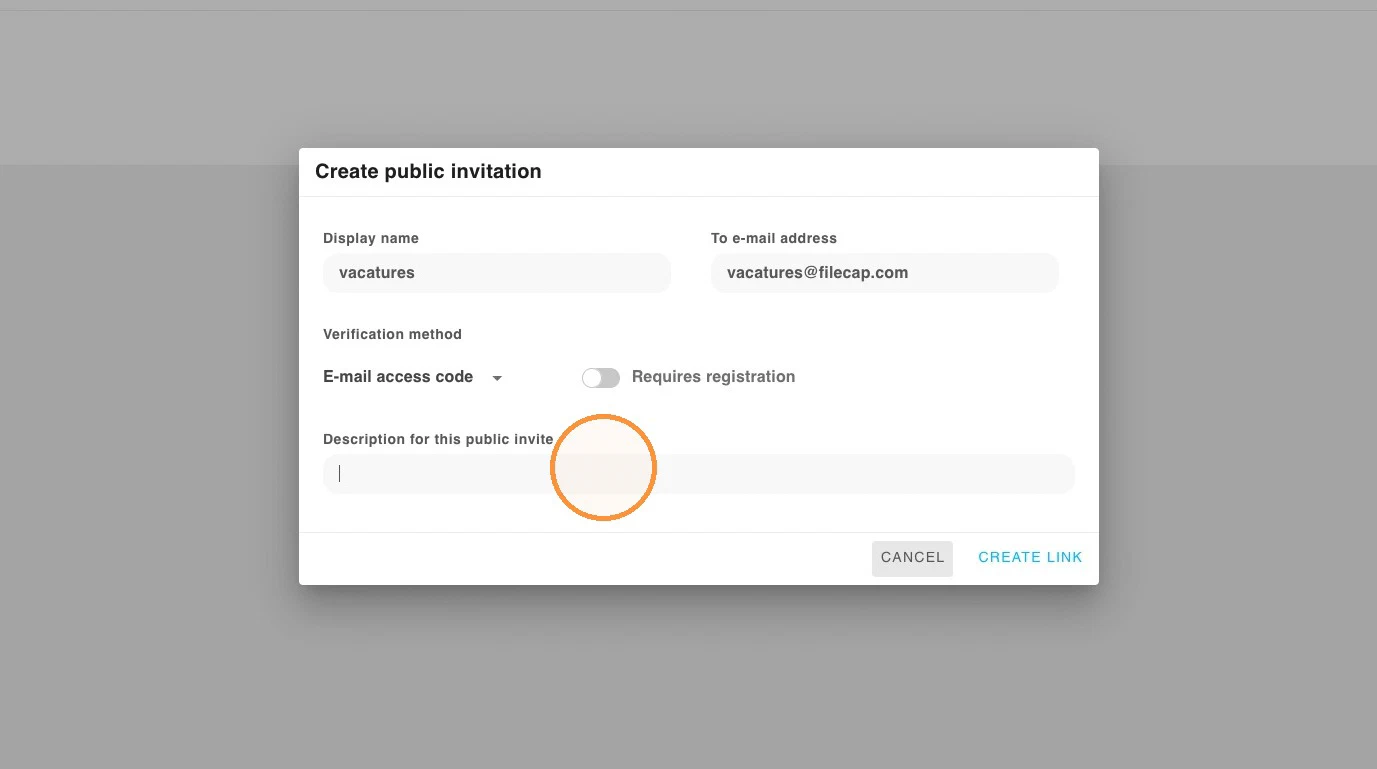
- At “Description for this public invite” you can enter a description for yourself, so you know what the link is used for.
- Click “Create link” to create the link.
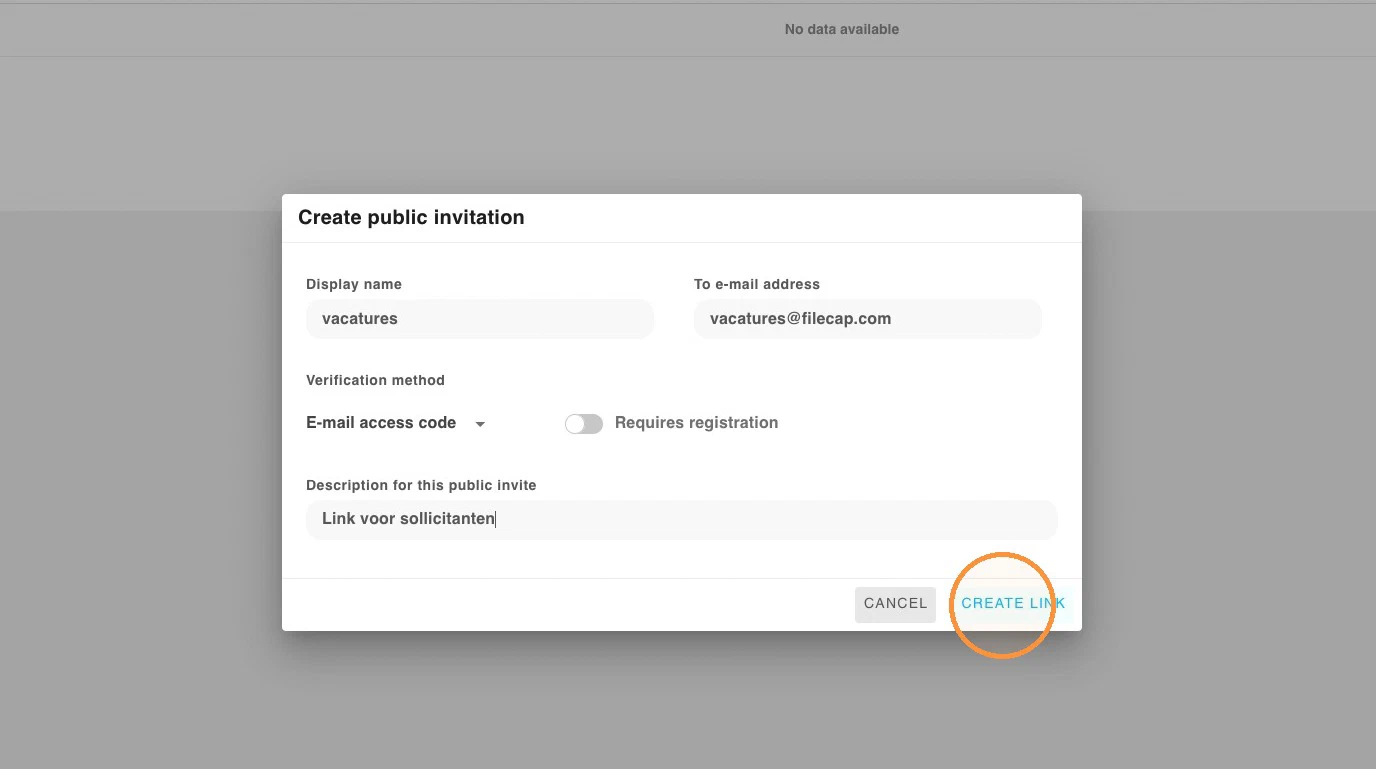
Changing the details after the link has been created is not possible. You must create a new link instead.
- Now that the link is created, you can easily copy it by clicking the copy button.
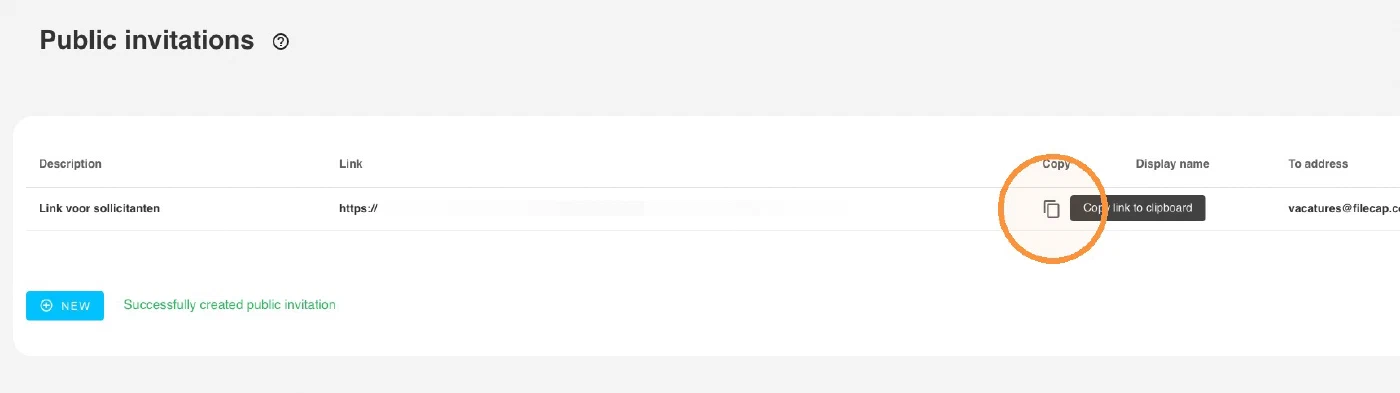
Great — you can now start using the link. A few extra actions are available after creating the link; they are explained below.
Managing an existing link#
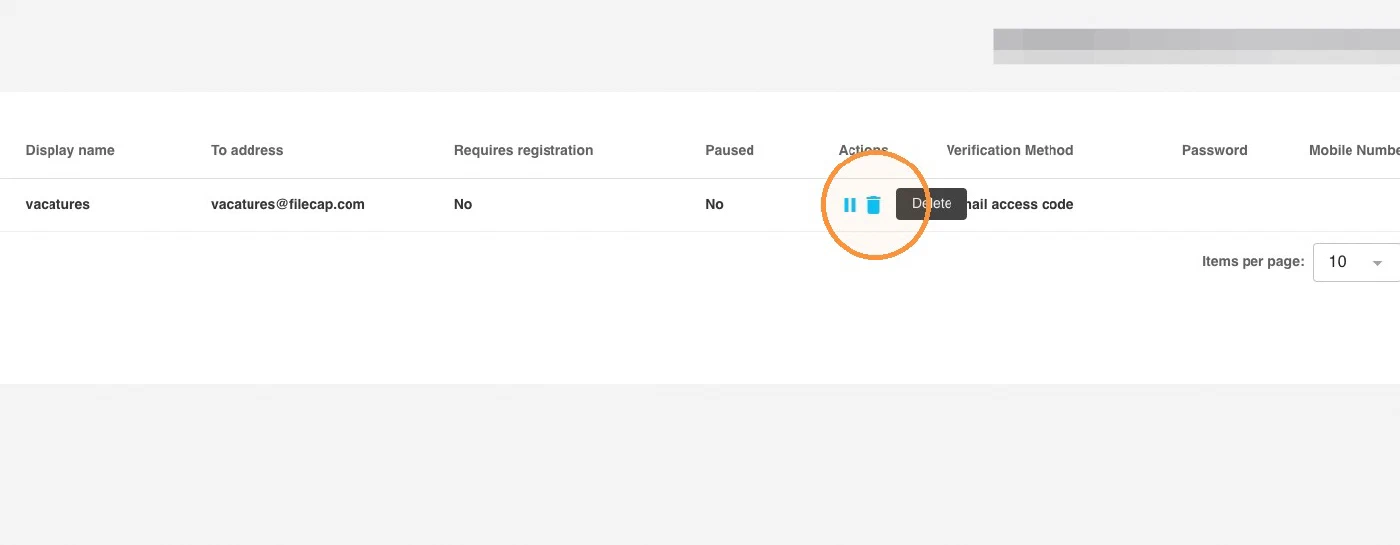
- Under the actions you can (temporarily) pause the link; the link is no longer valid while paused.
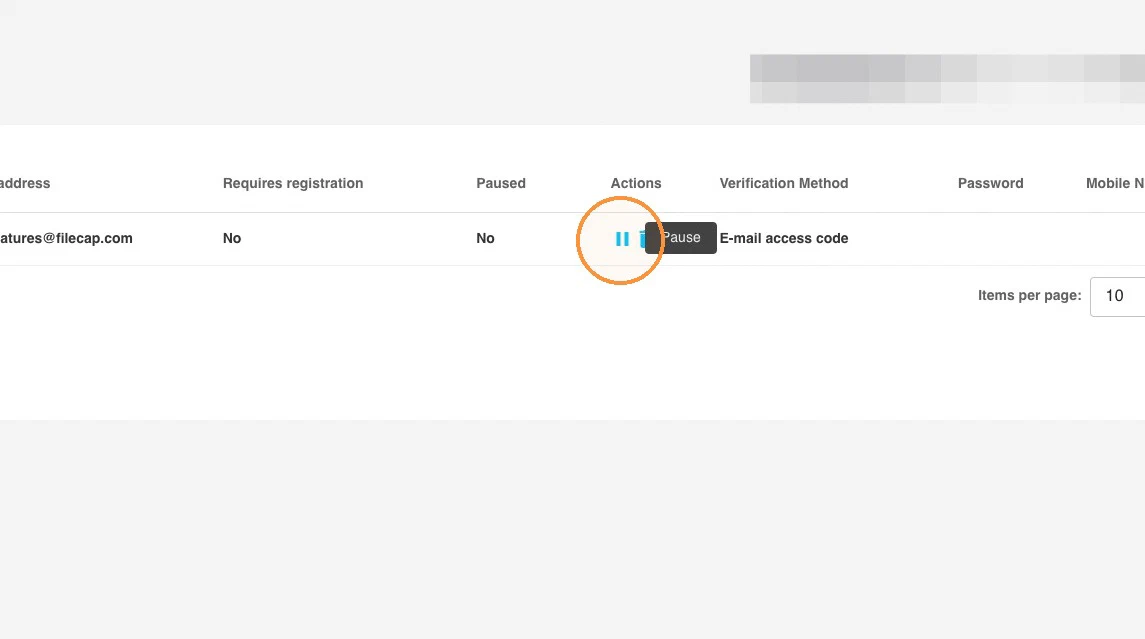
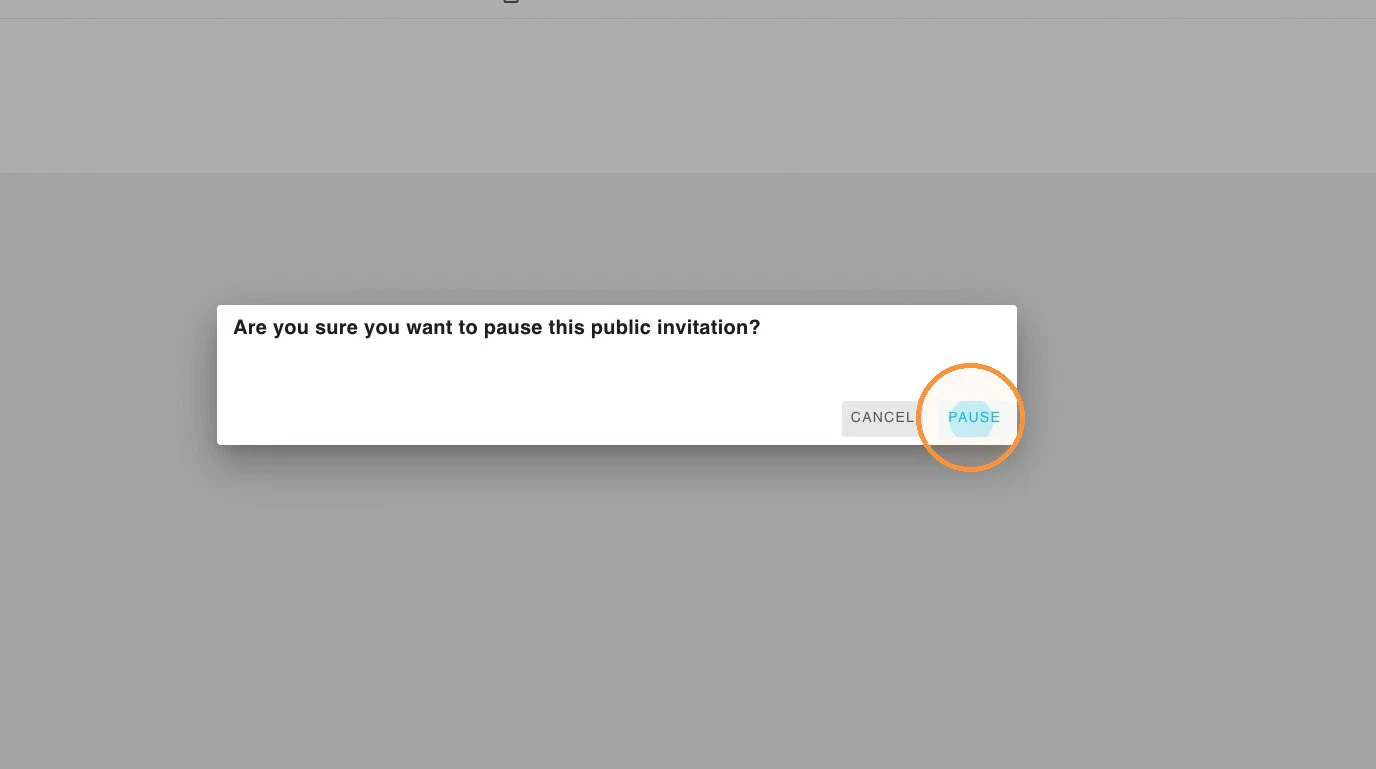
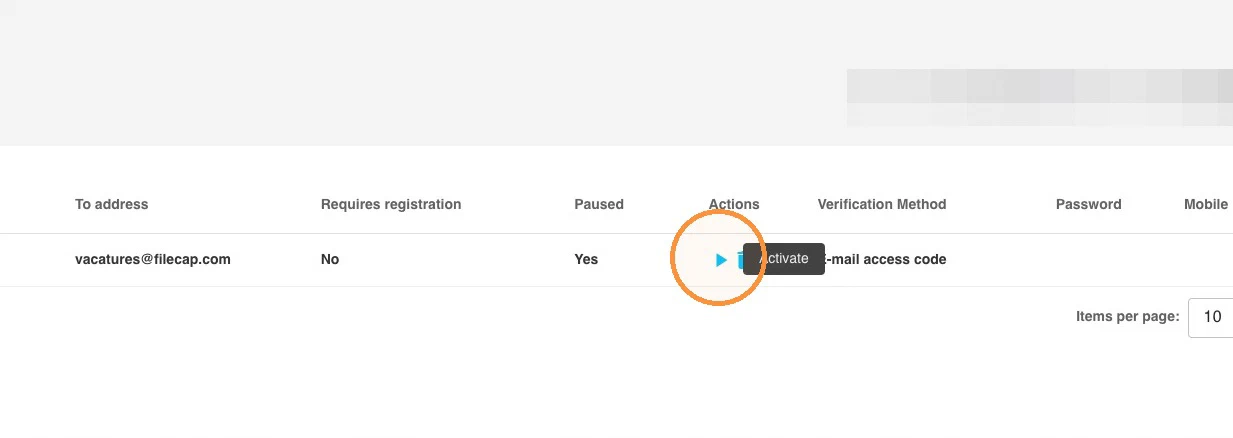
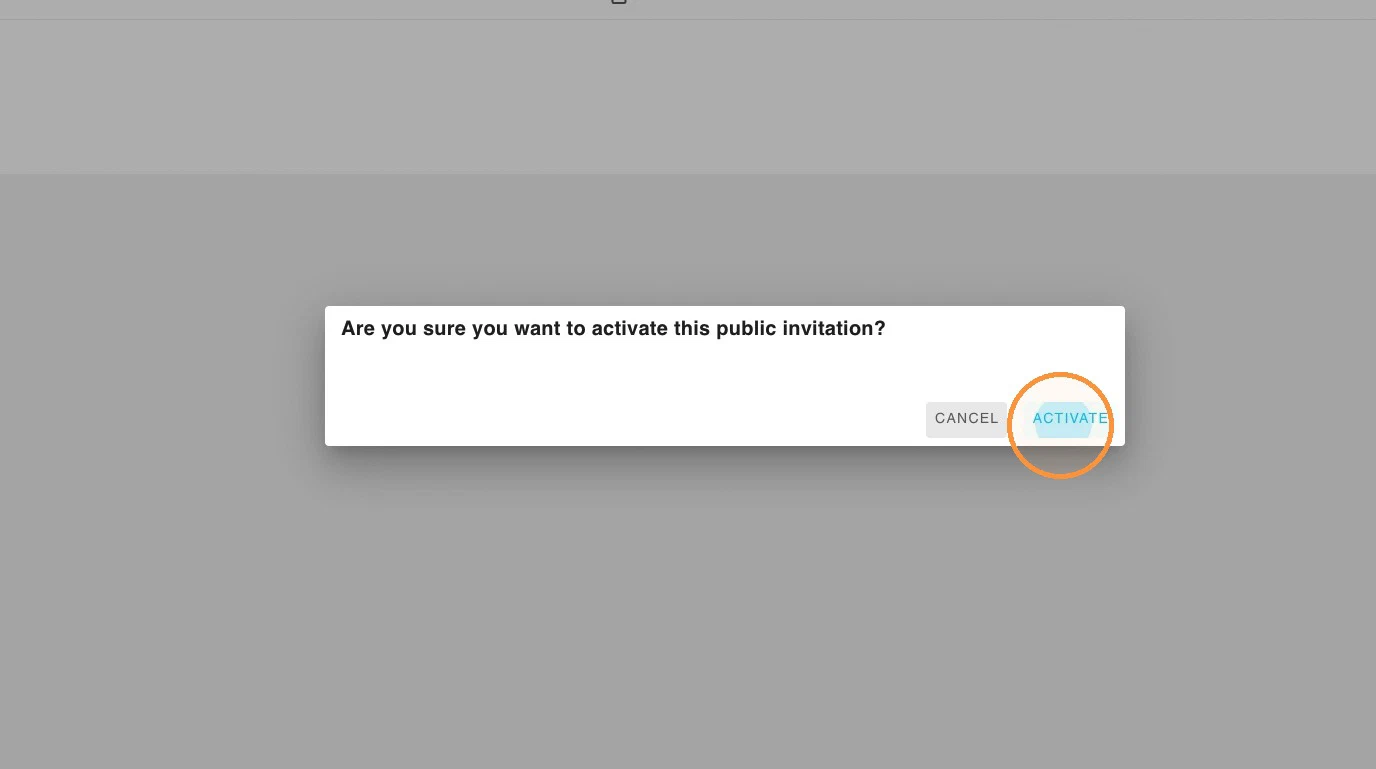
- To make the link valid again, click “Activate”.
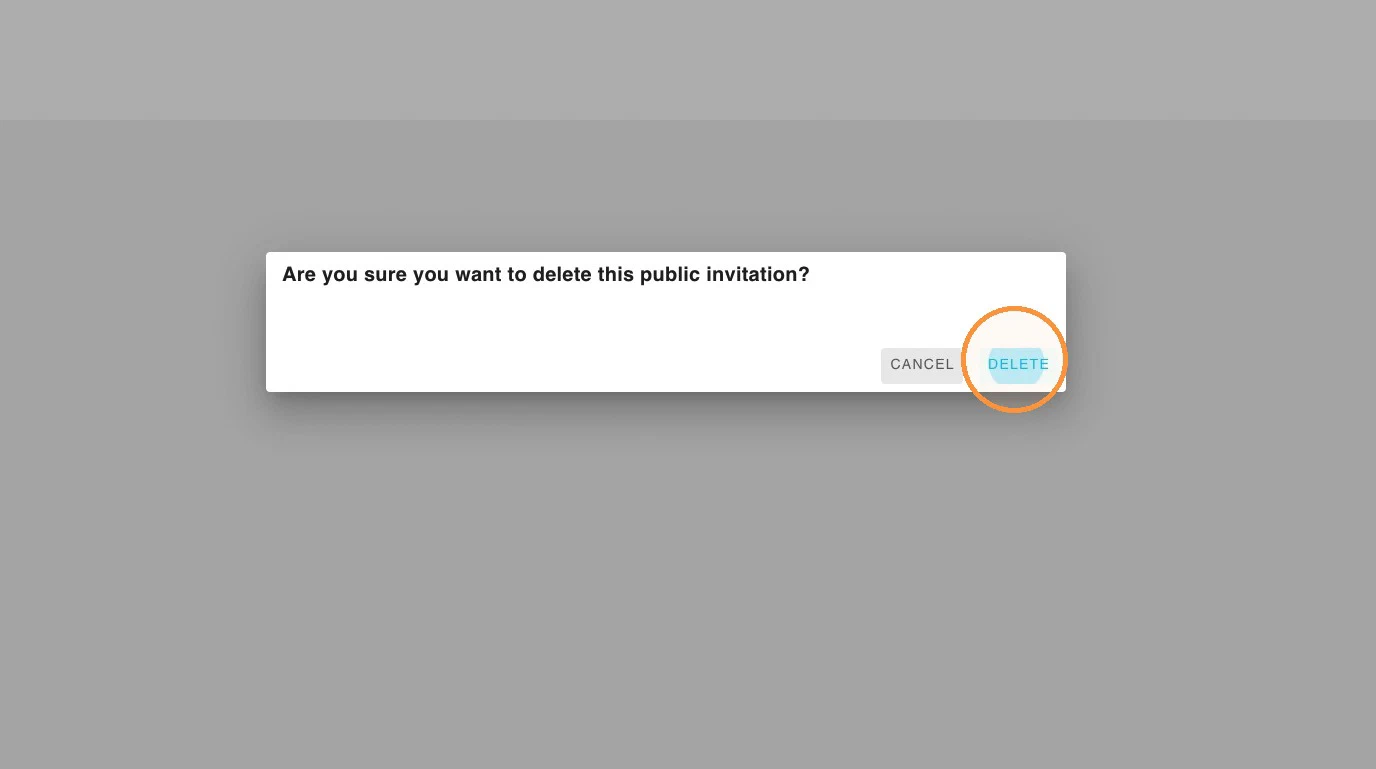
- To delete the link entirely, choose the “Delete” option.
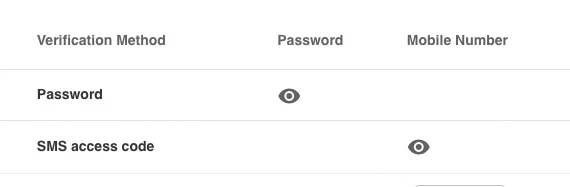
- Did you choose a password or SMS as the verification method? Then you can view the password or the phone number here by clicking the eye icon.